Changing Rear Brake Pads
Simple but you will get your hands dirty, no need to remove the caliper it is done without having to take the caliper off.
Begin by removing the padpin!
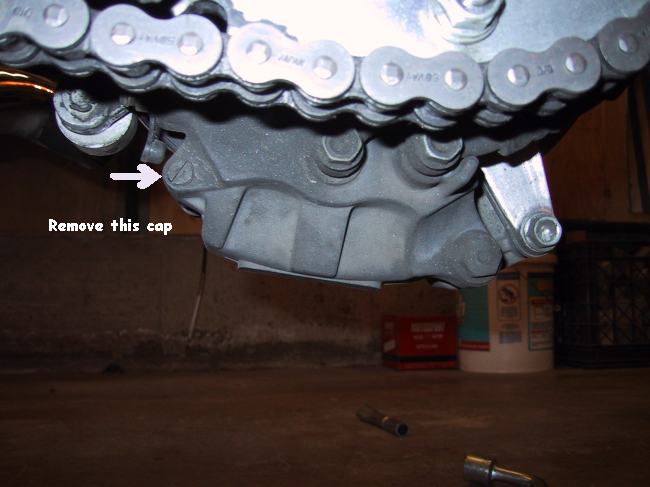
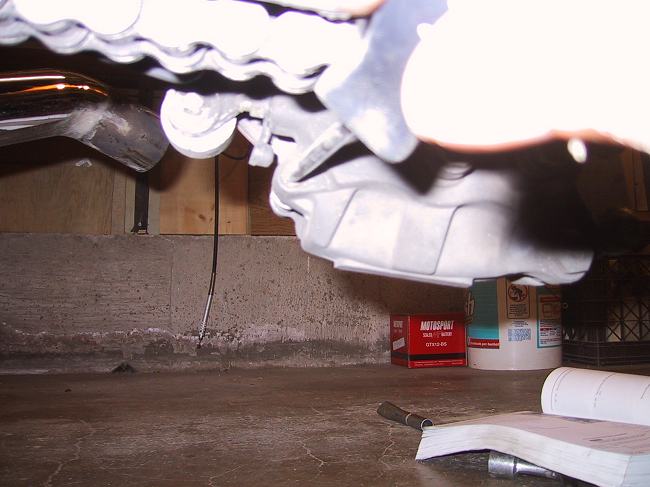
Remove the Pad Pin using a Hex Key, mine was stuck I had to get leverage.
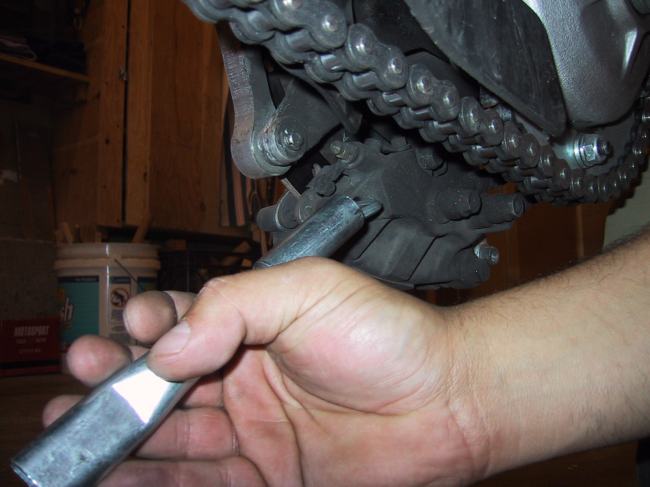
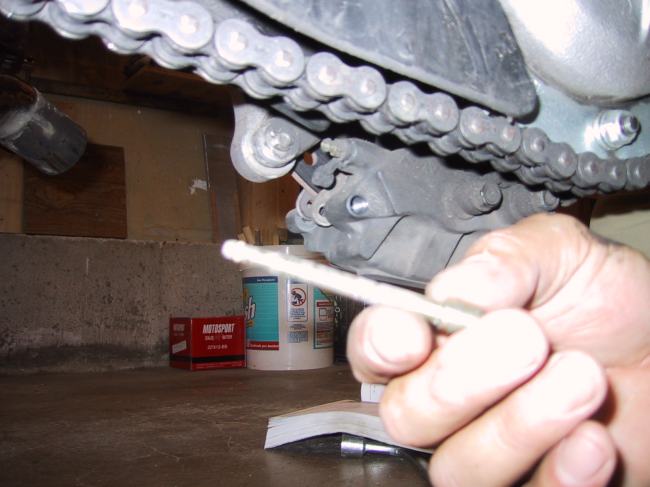
Reach in and pull out the old pads
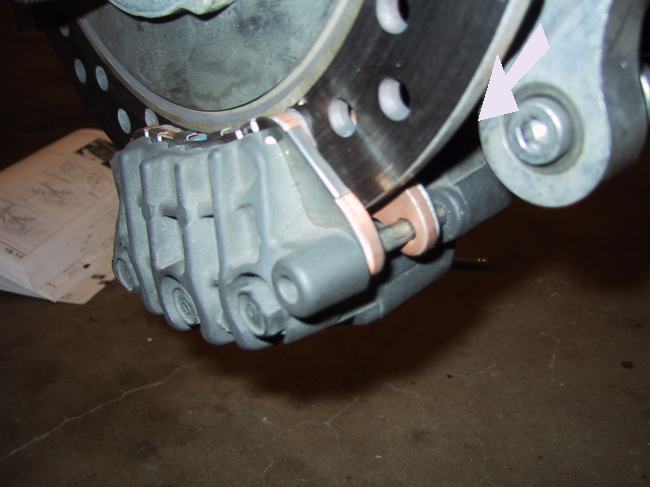
the inside pad must be removed by pulling out then up above the brake linkage arm (It is in the way) as seen in this pic.
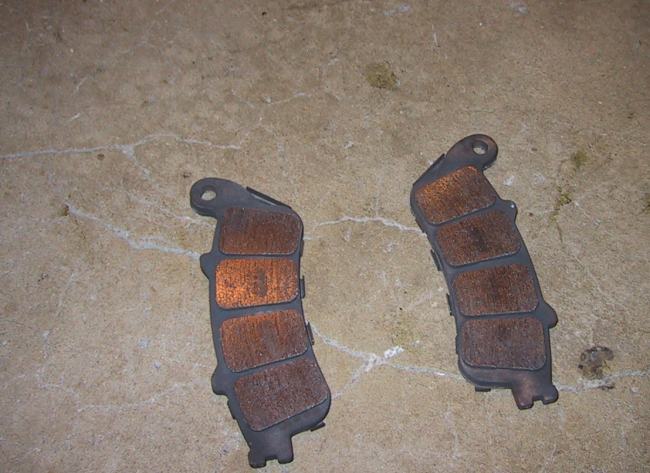
I had a bit of pad left but they were worn more on the stop side then on the piston side. (the bike does not have opposing pistons they have a metal stop on the other side of the caliper so the pads do not wear evenly on each side, make sure to check BOTH Pads when inspecting because of this circumstance)
See the uneven wear, the top pad is slightly thicker
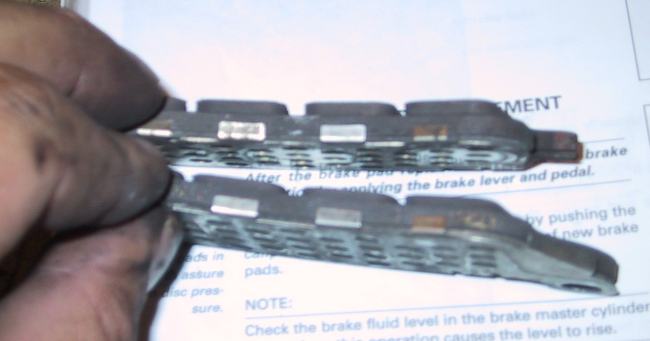
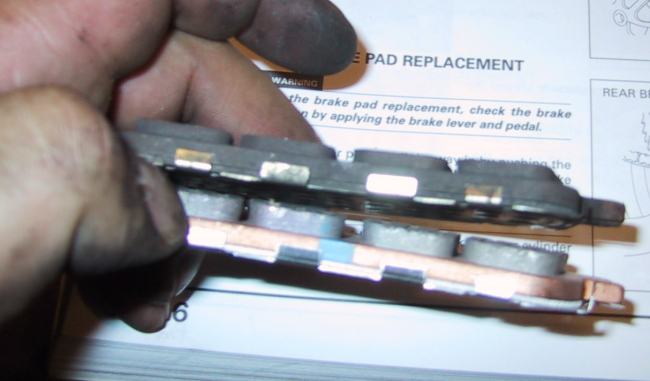
See the new one compared
Once the old pads are removed push the caliper in and out to loosen the springs and then to compress the pistons, take off the cap to check the fluid level, this might make the level overflow be wary of fluid level, the rear resivoir is under the seat.
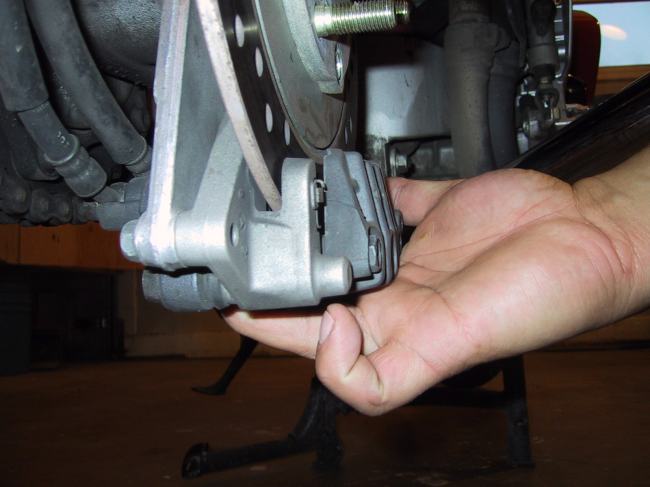
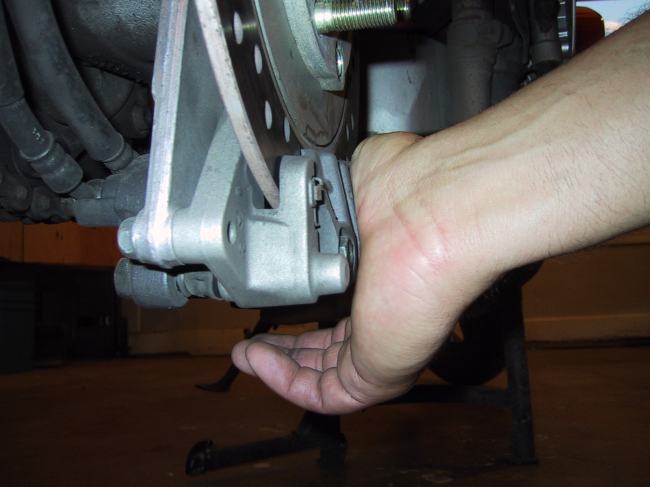
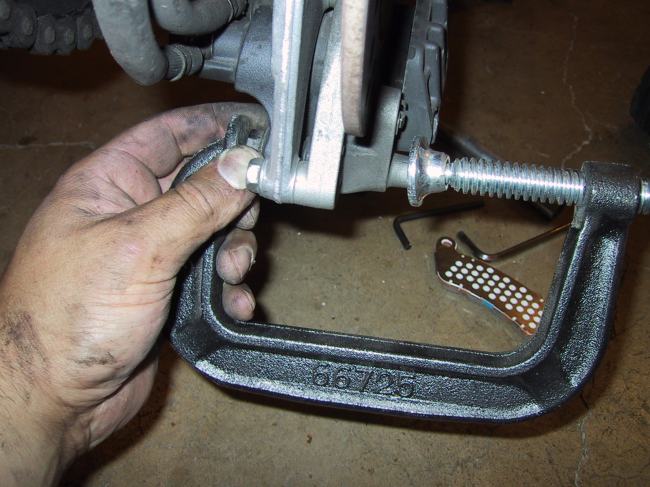
My pistons were stuck so I had to get serious, this does not harm the finish one side on the bolt the other on the caliper housing, then gently screw it in till the pistons are receded all the way! If you dont push the pistons back the new pads wont go in!
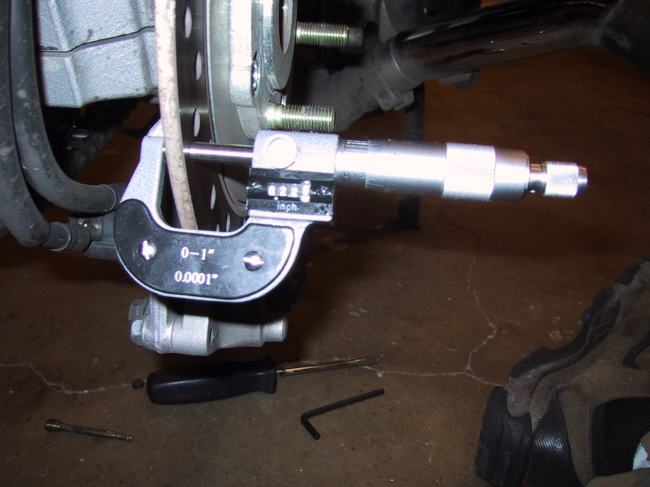
Measure the disk for thickness should be no less than 0.20 inches in thickness, if it is less replace it, the pads will not engage completely and the disk will be suseptable to heat warpage if its too thin. (As you can see mine was .229 inches.)
When installing the new pads the inner pad must be brought down over the linkage again since it is in the way, this can be a little tricky and requires a steady hand. There is a retaining spring that the pads lock into and they must be pushed down into position in order to line up with the Padpin. reinstall the padpin and tighten, then reinstall the cap. Pump the brakes untill there is feedback pressure. Check for stopping power and see if the pistons settle into place and do not bind! Do not forget to put the fluid cap back on.
Total time 20 minutes.
This operations requires that the rear wheel be removed, which might require moving the exhaust pipe out of the way as well depending on what brand you are using and how it is mounted.
Simple but you will get your hands dirty, no need to remove the caliper it is done without having to take the caliper off.
Begin by removing the padpin!
Remove the Pad Pin using a Hex Key, mine was stuck I had to get leverage.
Reach in and pull out the old pads
the inside pad must be removed by pulling out then up above the brake linkage arm (It is in the way) as seen in this pic.
I had a bit of pad left but they were worn more on the stop side then on the piston side. (the bike does not have opposing pistons they have a metal stop on the other side of the caliper so the pads do not wear evenly on each side, make sure to check BOTH Pads when inspecting because of this circumstance)
See the uneven wear, the top pad is slightly thicker
See the new one compared
Once the old pads are removed push the caliper in and out to loosen the springs and then to compress the pistons, take off the cap to check the fluid level, this might make the level overflow be wary of fluid level, the rear resivoir is under the seat.
My pistons were stuck so I had to get serious, this does not harm the finish one side on the bolt the other on the caliper housing, then gently screw it in till the pistons are receded all the way! If you dont push the pistons back the new pads wont go in!
Measure the disk for thickness should be no less than 0.20 inches in thickness, if it is less replace it, the pads will not engage completely and the disk will be suseptable to heat warpage if its too thin. (As you can see mine was .229 inches.)
When installing the new pads the inner pad must be brought down over the linkage again since it is in the way, this can be a little tricky and requires a steady hand. There is a retaining spring that the pads lock into and they must be pushed down into position in order to line up with the Padpin. reinstall the padpin and tighten, then reinstall the cap. Pump the brakes untill there is feedback pressure. Check for stopping power and see if the pistons settle into place and do not bind! Do not forget to put the fluid cap back on.
Total time 20 minutes.
This operations requires that the rear wheel be removed, which might require moving the exhaust pipe out of the way as well depending on what brand you are using and how it is mounted.