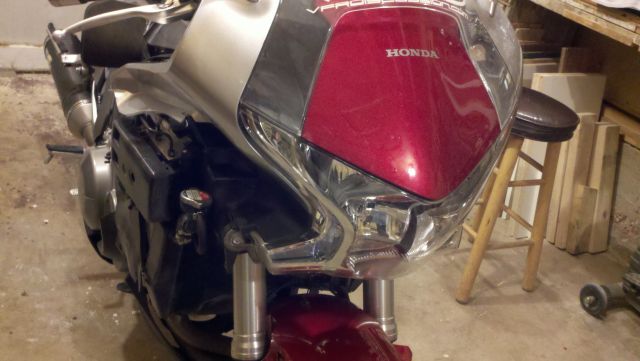
I began with a strip down of the basic plastic removal around 3am in the morning, I work nights anyway and well it is a quiet time for me with no interruptions from nosy family members! That took no time at all I am getting pretty good at removing the plastic.
[image: Top cover and air filter removed]
[image: Fuel tank Quick Disconnect]
[image: vfr1200f ECM]
[image: Top cover and K and N filter]
[image: You can see the ecm connectors here]
[image: removed the rest of the air box]
[image: Removed the throttle body]
[image: Fuel rails and fuel injectors]
[image: Covered the intakes with tape to avoid anything getting into the engine]
[image: Removed the front cylinder head plastic heat shield]
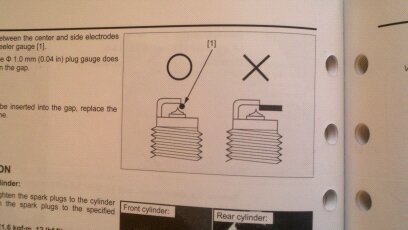
Yes you have to remove all that just to get to the front spark plugs, lucky they use high mileage iridium spark plugs with a 30k lifetime so you are going to have to inspect the valves before hand before you have to replace them - I did that and they all looked fine. I had all of my exhaust valves just out of spec those are the rocker roller set, and one of the bucket under shim intakes was loose but still in spec. Just as I figured the roller rocker design would be more apt to be out of spec then the bucket under shims would be, just like the CRX dirt bikes! Its a simple elegant design, less rolling mass with only one cam shaft and the cam chain does not need a huge bend in it for a powerful cam chain tensioner this design uses a spring loaded bow tensioner instead of a massive punch design like the vtecs use.
[image: Gapping the iridium spark plugs]
[image: The front cylinder has very cramped working space]
[image: More fun days on the bike]
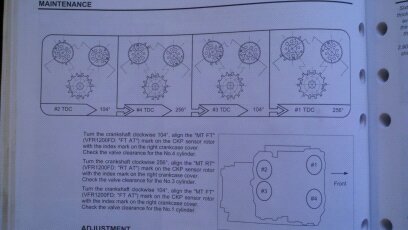
There are two marks on the timing cover I suppose its easier then the 4 I had on the old girl, you watch the cam shaft on the rear set for direction ques as you turn it to make sure the engine is in top dead center for the cylinder your inspecting all marked out in the manual but the manual has very small pictures for the cam shaft positions so its hard to read. I managed it though. They have 3 measurements for the Valve Clearance
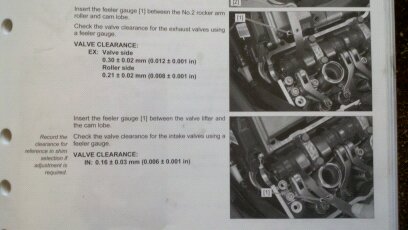
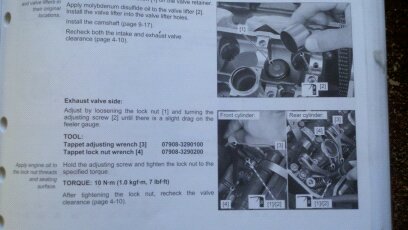
Exhaust Valves have a roller rocker design with a roller on one end and a screw driver and lock nut on the other with a square head for the driver. They were all out of spec all of them!
The manual has two sets of measurements for the exhaust side
Valve side with the lock nut 0.03 + or - 0,02 mm or (0.012 + or - 0.001 inches)
Roller side 0.21 + or - 0.02 mm or (0.008 + or - 0.001 inches) my gap strips were in listed in both but came stepped up in inch sizes so I use the inch listings
Intake side is the shim under bucket design
0.16 + or - 0.003 or (0.006 + or - 0.001 inches) on one was loose at .007 but still in tolerance and most likely to go tight as it wears.
Edited some of the photos with additional info that I neglected to mention first draft. I started at 3am and had it done and back together with the bike running at 6am. Including a half an hour bathroom veg out break, take your time, be diliberate, read the manual for instructions, read all the back pages for what to do and dont take any short cuts be careful removing connectors and fasteners they can get dropped easy - calm slow and methodical is best. If you dont have much time to do it then just let a pro do it or wait till you can dedicate all your attention to it and not hurry the job. Break it up into sections/tasks and it wont seem so difficult. Each task one at a time then reverse it to button it all back up.