http://rad.smugmug.com/photos/387955727_ARu4x-S.jpg
Why an oiler ?
I have heard the debate for years, O-ring chains are lubricated, no need to lube/oil, etc. I have also heard the folks rave about great chain life with oilers. So, what's the truth? Best I find out for myself. Along with the curiosity was the desire to mess with my chain less; So, why not try an oiler?
What this thread is
It is a pictorial "how to" regarding the Pro-Oiler. It is not intended to be a debate on the merits, or lack there of regarding automated oilers. Yes I know, I'm sure someone on this site has done nothing more than urinated on their chain every 1,000 and the chain has lasted a billion miles, I don't care. This is about finding out for myself.
Which oiler?
If you're after the oiler that does it all, I think there is only one real choice, Pro-oiler. It can use any oil, ya don't need to change weight of oil for temperature changes, no oil feed when the bike is not moving, dual delivery nozzle, no bizarre filling rituals, just unscrew the cap and pour in the oil and it is fully adjustable on the fly to deal with rain etc. Down side of this oiler; it cost more and the install is more complicated.
Getting the beast
Not as easy as you might think; no place sells them other than the manufacture in Belgium. Worse yet, a couple of major email hosting programs, (such as mine, sbcglobal.net) are read as spam by the servers at the Pro-oiler office so it takes a bit of effort to get through. I almost gave up, then I heard that Pablo, the main guy, is very helpful and I should email again. Well, I did at 6:30am before work and at 6:35am my phone rings, I answer and the guy on the other side, with an accent says, "Hello, this is Pablo for Belgium". Folks were right; what a great guy, he took my order, CC info and in about a week a box arrives at my house from Belgium.
Pro-Oiler
A plus for Vtec owners
Supposedly the pro-oiler was developed with the vtec VFR as a prototype model so it fits our bikes perfectly. Another nice touch, when you specify what bike you have any special parts are supplied, big plus here, the controller already has the proper recommended map for the Vtec programmed in!.
Lets get started
Disclaimer:
Everything you do to your bike, no matter what I write or anybody else states anyplace else is 100% your responsibility, just like when you climb on your bike and go for a ride. So, read everything here, the manual, and make your determination if it makes sense and how you want to proceed.
Ambiance
When I did my last wrenching "how to", for the manly job of CCT replacement, where you are covered in M/C fluids, knuckles bled and you use studly tools like torque wrenches, it was important to use the proper wrenching aids; this consisted of quality beer and rock'n music like Reckless Kelly performing Wicked Twisted Road.
This job is far different. The tools used here are things like tiny little screwdrivers along with lots of cerebral stuff dealing with matrixes and complicated tables. About as mechanical as you get, is stripping tiny little girly wires. This kind of job can be performed by a man who never had to face the difficult challenge in his youth of figuring out which end went up, large or small, when trying to put on his first athletic cup and supporter.
Therefore, sophisticated music like a good Jazz, and a fine cabernet wine is called for.
http://rad.smugmug.com/photos/393916194_H93Nw-S.jpg
The package
http://rad.smugmug.com/photos/387952589_7J5zH-S.jpg
Inside
Holy cow! I have never received a better boxed, better packaged product, and more massive three booklet set of instructions! This is surely a techno geeks dream system, sadly, that is not me. Fear not, I choose to actually read the directions completely prior to even opening the first of the bubble wrapped, zip loc bag contained goodies. Usually the directions for a product get looked at by me only after one of two things happens, I have extra parts left over or I get stumped along the way.
Another comment about the directions, they are funny, check out this warning in red:
"EMI is not common- but don't even THINK about skipping this test" (more on this test later)
Or this comment following another warning, "This is a genuine warning-not of the "do not dry your dog in the microwave" type!"
http://rad.smugmug.com/photos/387952743_exEGW-S.jpg
After reading the copious amounts of paper work the first task is to do a dry run, test fit all the parts for there is limited room on a VFR.
Lots of "limited" space to pick from an a VFR
http://rad.smugmug.com/photos/387952895_XhLEx-S.jpg
The parts: controller, pump, brain, reservoir and nozzle.
I selected the left hand side under the seat, where the tool bag sits to locate the three main parts, brain, pump and reservoir. That still left me room under the seat for the stock tool bag, chain adjustment wrench extension, duct tape, elec tape, latex gloves, three CO2 cartridges and my complete string patch kit and pressure gauge.
This is a test fit photo, in the final install the reservoir is rotated 180 degrees to allow for the oil flow line to curve back to the pump that is adjacent to the reservoir
http://rad.smugmug.com/photos/387953034_9JVS8-S.jpg
I placed the controller up on the dash.
http://rad.smugmug.com/photos/389287845_65Qh6-M.jpg
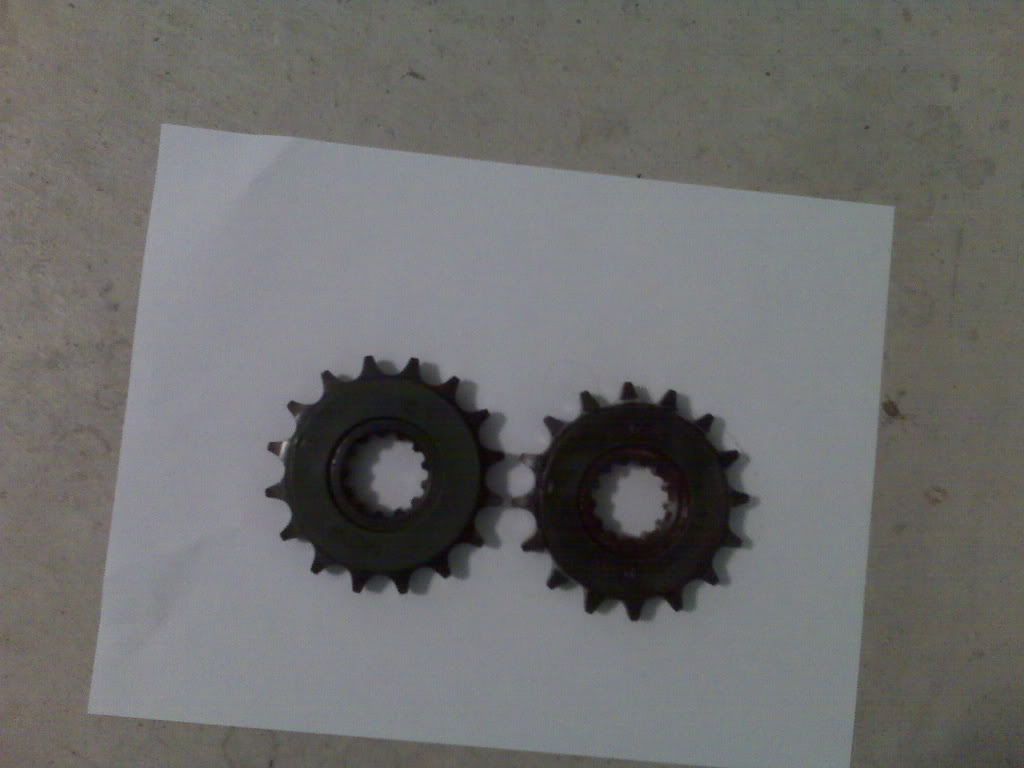
The nozzle, well it only goes one place; there is no drilling for the nozzle, it just attaches to the existing chain guard bolt.
http://rad.smugmug.com/photos/387955727_ARu4x-S.jpg
Find your elec power, no secrets here. It must be a switched lead, I used the tail light.
http://rad.smugmug.com/photos/395384828_mhnR3-S.jpg
They recommend not running the earth back to the negative battery terminal so I grounded it here.
http://rad.smugmug.com/photos/395384994_fY8b4-S.jpg
Speedo wire location. The yellow wire leads from the tap inside the clear boot and runs back to the junction box under the seat. The wire tapped inside the boot (can't see in photo) is the pink one.
http://rad.smugmug.com/photos/393914449_7EXz4-S.jpg
I routed the controller harness back along the upper frame rail to the junction box. It is a very clean and tidy fused system as you can see here. I set the reservoir, the line continuing towards the rear of the bike, the breather that must end higher than the bottle and it does so nicely as it runs up the tail.
Control box, with top off
http://rad.smugmug.com/photos/387955418_5h7qb-S.jpg
Over flow tube heading back and up under tail
http://rad.smugmug.com/photos/387951663_mj8uw-S.jpg
The feed line makes a graceful curve around and under the frame rail behind it and meets the pump. The line exits the pump and runs down the frame to just above the swing arm and I created a gentle curve in it to allow for swing arm movement and zip tied it along the top of the chain guard and dropped it down to the nozzle.
Feed line routing
http://rad.smugmug.com/photos/387956715_SYGHf-S.jpg
Under frame view, with loop for swing arm movement
http://rad.smugmug.com/photos/387955838_fXXvi-S.jpg
Couple more shots
http://rad.smugmug.com/photos/387956324_aQFvf-S.jpg
http://rad.smugmug.com/photos/387956185_MqvNg-S.jpg
Line now primed and full of oil
http://rad.smugmug.com/photos/389287040_7A8if-S.jpg
After it was all put together and I checked for power, speedo signal and EMI, that is a process where they have you start he bike and blip the throttle and you check to make sure no unwanted signal is being transferred to the controller via Electrical Magnetic Interference. The only signal it should get is from the speedo sensor.
After that is a process of following the direction specifically in order to calibrate the speedo reading and set it up for your bike, priming the unit and then going for a ride.
Road test
Once set up the unit is a no mess with type of application. I cleaned my chain completely (I thought) prior to the install as the directions state and was surprised just how much gunk kept appearing on the outer edge of the links in the first few hundred miles as the oil flow lubed and cleaned the chain. Due to it taking awhile for the built up crud to leave the chain, it was not until a couple hundred miles later I could tell that the preset and changeable settings for the VFR, 10 point movable on the fly adjustments, were right on for the VFR. I run on setting 3, as recommended; it is perfect, good oil delivery and minimal fling.
Quick, 500 mile review
So far I'm very happy with it. I believe chain life is more dependent on keeping a chain clean, crud and grit free, more than anything else. The Pro-Oiler does this incredibly well without you ever having to touch the chain. This is accomplished because the system, like all oilers, is a total loss system; this means every drop of oil placed on the chain leaves that chain at some point, taking with it any dirt and crud. It does not matter what type of paste, wax or oil you use on a chain, if it stays on the chain and does not leave, it collects its share of road grit, oilers do not.
I can already tell, this winter, rain or shine, I no longer will be cleaning a chain on my VFR!
Future plans: I think I will route the visible white/transparent delivery tube inside a black slightly larger tube making it completely unnoticeable along with changing the Speedo wire to a black for the same purpose, vanity.
Now, I wait and see, will chain life improve? Time, or miles I should say, will tell.
Why an oiler ?
I have heard the debate for years, O-ring chains are lubricated, no need to lube/oil, etc. I have also heard the folks rave about great chain life with oilers. So, what's the truth? Best I find out for myself. Along with the curiosity was the desire to mess with my chain less; So, why not try an oiler?
What this thread is
It is a pictorial "how to" regarding the Pro-Oiler. It is not intended to be a debate on the merits, or lack there of regarding automated oilers. Yes I know, I'm sure someone on this site has done nothing more than urinated on their chain every 1,000 and the chain has lasted a billion miles, I don't care. This is about finding out for myself.
Which oiler?
If you're after the oiler that does it all, I think there is only one real choice, Pro-oiler. It can use any oil, ya don't need to change weight of oil for temperature changes, no oil feed when the bike is not moving, dual delivery nozzle, no bizarre filling rituals, just unscrew the cap and pour in the oil and it is fully adjustable on the fly to deal with rain etc. Down side of this oiler; it cost more and the install is more complicated.
Getting the beast
Not as easy as you might think; no place sells them other than the manufacture in Belgium. Worse yet, a couple of major email hosting programs, (such as mine, sbcglobal.net) are read as spam by the servers at the Pro-oiler office so it takes a bit of effort to get through. I almost gave up, then I heard that Pablo, the main guy, is very helpful and I should email again. Well, I did at 6:30am before work and at 6:35am my phone rings, I answer and the guy on the other side, with an accent says, "Hello, this is Pablo for Belgium". Folks were right; what a great guy, he took my order, CC info and in about a week a box arrives at my house from Belgium.
Pro-Oiler
A plus for Vtec owners
Supposedly the pro-oiler was developed with the vtec VFR as a prototype model so it fits our bikes perfectly. Another nice touch, when you specify what bike you have any special parts are supplied, big plus here, the controller already has the proper recommended map for the Vtec programmed in!.
Lets get started
Disclaimer:
Everything you do to your bike, no matter what I write or anybody else states anyplace else is 100% your responsibility, just like when you climb on your bike and go for a ride. So, read everything here, the manual, and make your determination if it makes sense and how you want to proceed.
Ambiance
When I did my last wrenching "how to", for the manly job of CCT replacement, where you are covered in M/C fluids, knuckles bled and you use studly tools like torque wrenches, it was important to use the proper wrenching aids; this consisted of quality beer and rock'n music like Reckless Kelly performing Wicked Twisted Road.
This job is far different. The tools used here are things like tiny little screwdrivers along with lots of cerebral stuff dealing with matrixes and complicated tables. About as mechanical as you get, is stripping tiny little girly wires. This kind of job can be performed by a man who never had to face the difficult challenge in his youth of figuring out which end went up, large or small, when trying to put on his first athletic cup and supporter.
Therefore, sophisticated music like a good Jazz, and a fine cabernet wine is called for.
http://rad.smugmug.com/photos/393916194_H93Nw-S.jpg
The package
http://rad.smugmug.com/photos/387952589_7J5zH-S.jpg
Inside
Holy cow! I have never received a better boxed, better packaged product, and more massive three booklet set of instructions! This is surely a techno geeks dream system, sadly, that is not me. Fear not, I choose to actually read the directions completely prior to even opening the first of the bubble wrapped, zip loc bag contained goodies. Usually the directions for a product get looked at by me only after one of two things happens, I have extra parts left over or I get stumped along the way.
Another comment about the directions, they are funny, check out this warning in red:
"EMI is not common- but don't even THINK about skipping this test" (more on this test later)
Or this comment following another warning, "This is a genuine warning-not of the "do not dry your dog in the microwave" type!"
http://rad.smugmug.com/photos/387952743_exEGW-S.jpg
After reading the copious amounts of paper work the first task is to do a dry run, test fit all the parts for there is limited room on a VFR.
Lots of "limited" space to pick from an a VFR
http://rad.smugmug.com/photos/387952895_XhLEx-S.jpg
The parts: controller, pump, brain, reservoir and nozzle.
I selected the left hand side under the seat, where the tool bag sits to locate the three main parts, brain, pump and reservoir. That still left me room under the seat for the stock tool bag, chain adjustment wrench extension, duct tape, elec tape, latex gloves, three CO2 cartridges and my complete string patch kit and pressure gauge.
This is a test fit photo, in the final install the reservoir is rotated 180 degrees to allow for the oil flow line to curve back to the pump that is adjacent to the reservoir
http://rad.smugmug.com/photos/387953034_9JVS8-S.jpg
I placed the controller up on the dash.
http://rad.smugmug.com/photos/389287845_65Qh6-M.jpg
The nozzle, well it only goes one place; there is no drilling for the nozzle, it just attaches to the existing chain guard bolt.
http://rad.smugmug.com/photos/387955727_ARu4x-S.jpg
Find your elec power, no secrets here. It must be a switched lead, I used the tail light.
http://rad.smugmug.com/photos/395384828_mhnR3-S.jpg
They recommend not running the earth back to the negative battery terminal so I grounded it here.
http://rad.smugmug.com/photos/395384994_fY8b4-S.jpg
Speedo wire location. The yellow wire leads from the tap inside the clear boot and runs back to the junction box under the seat. The wire tapped inside the boot (can't see in photo) is the pink one.
http://rad.smugmug.com/photos/393914449_7EXz4-S.jpg
I routed the controller harness back along the upper frame rail to the junction box. It is a very clean and tidy fused system as you can see here. I set the reservoir, the line continuing towards the rear of the bike, the breather that must end higher than the bottle and it does so nicely as it runs up the tail.
Control box, with top off
http://rad.smugmug.com/photos/387955418_5h7qb-S.jpg
Over flow tube heading back and up under tail
http://rad.smugmug.com/photos/387951663_mj8uw-S.jpg
The feed line makes a graceful curve around and under the frame rail behind it and meets the pump. The line exits the pump and runs down the frame to just above the swing arm and I created a gentle curve in it to allow for swing arm movement and zip tied it along the top of the chain guard and dropped it down to the nozzle.
Feed line routing
http://rad.smugmug.com/photos/387956715_SYGHf-S.jpg
Under frame view, with loop for swing arm movement
http://rad.smugmug.com/photos/387955838_fXXvi-S.jpg
Couple more shots
http://rad.smugmug.com/photos/387956324_aQFvf-S.jpg
http://rad.smugmug.com/photos/387956185_MqvNg-S.jpg
Line now primed and full of oil
http://rad.smugmug.com/photos/389287040_7A8if-S.jpg
After it was all put together and I checked for power, speedo signal and EMI, that is a process where they have you start he bike and blip the throttle and you check to make sure no unwanted signal is being transferred to the controller via Electrical Magnetic Interference. The only signal it should get is from the speedo sensor.
After that is a process of following the direction specifically in order to calibrate the speedo reading and set it up for your bike, priming the unit and then going for a ride.
Road test
Once set up the unit is a no mess with type of application. I cleaned my chain completely (I thought) prior to the install as the directions state and was surprised just how much gunk kept appearing on the outer edge of the links in the first few hundred miles as the oil flow lubed and cleaned the chain. Due to it taking awhile for the built up crud to leave the chain, it was not until a couple hundred miles later I could tell that the preset and changeable settings for the VFR, 10 point movable on the fly adjustments, were right on for the VFR. I run on setting 3, as recommended; it is perfect, good oil delivery and minimal fling.
Quick, 500 mile review
So far I'm very happy with it. I believe chain life is more dependent on keeping a chain clean, crud and grit free, more than anything else. The Pro-Oiler does this incredibly well without you ever having to touch the chain. This is accomplished because the system, like all oilers, is a total loss system; this means every drop of oil placed on the chain leaves that chain at some point, taking with it any dirt and crud. It does not matter what type of paste, wax or oil you use on a chain, if it stays on the chain and does not leave, it collects its share of road grit, oilers do not.
I can already tell, this winter, rain or shine, I no longer will be cleaning a chain on my VFR!
Future plans: I think I will route the visible white/transparent delivery tube inside a black slightly larger tube making it completely unnoticeable along with changing the Speedo wire to a black for the same purpose, vanity.
Now, I wait and see, will chain life improve? Time, or miles I should say, will tell.