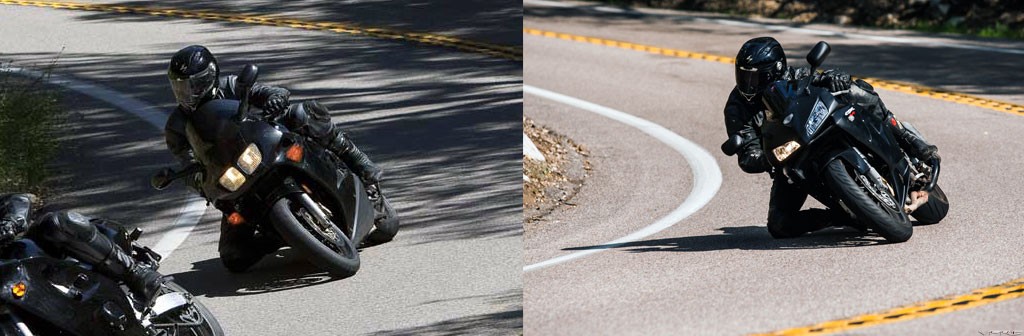
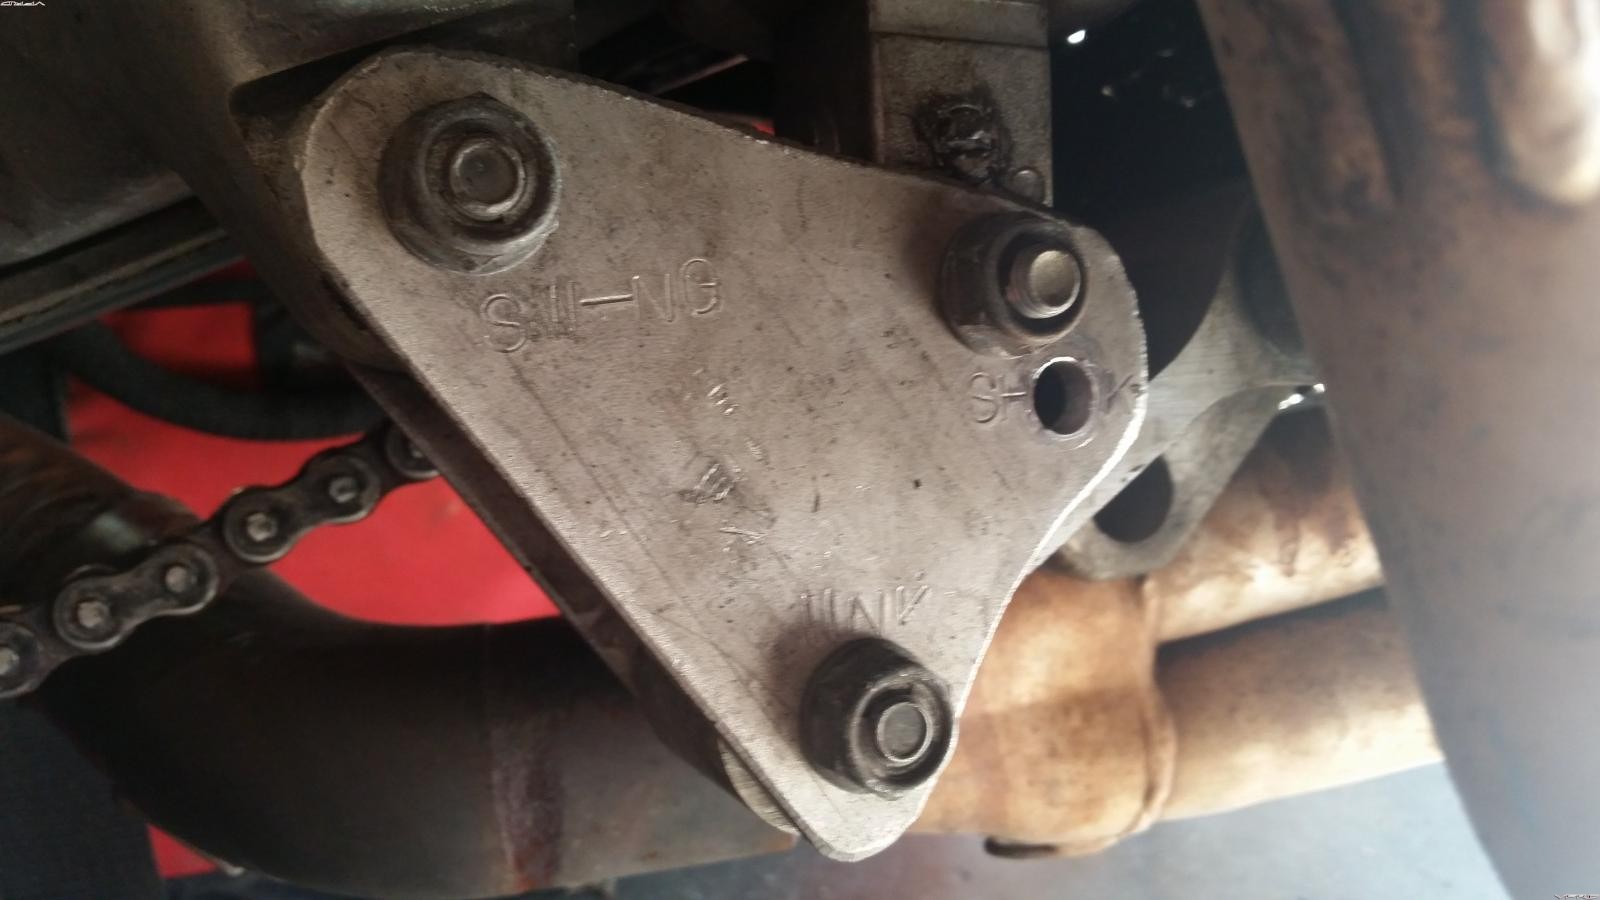
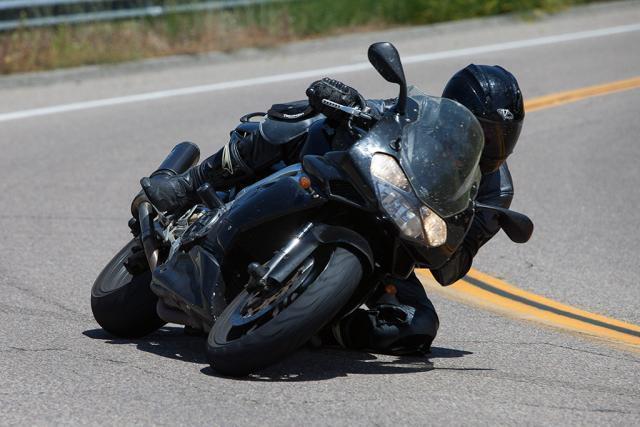
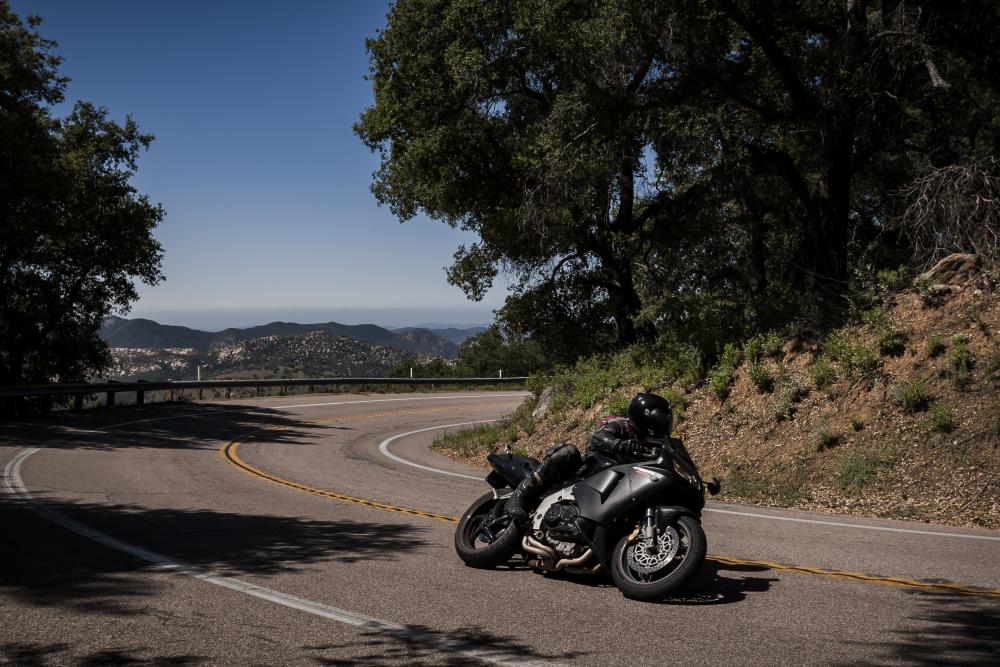
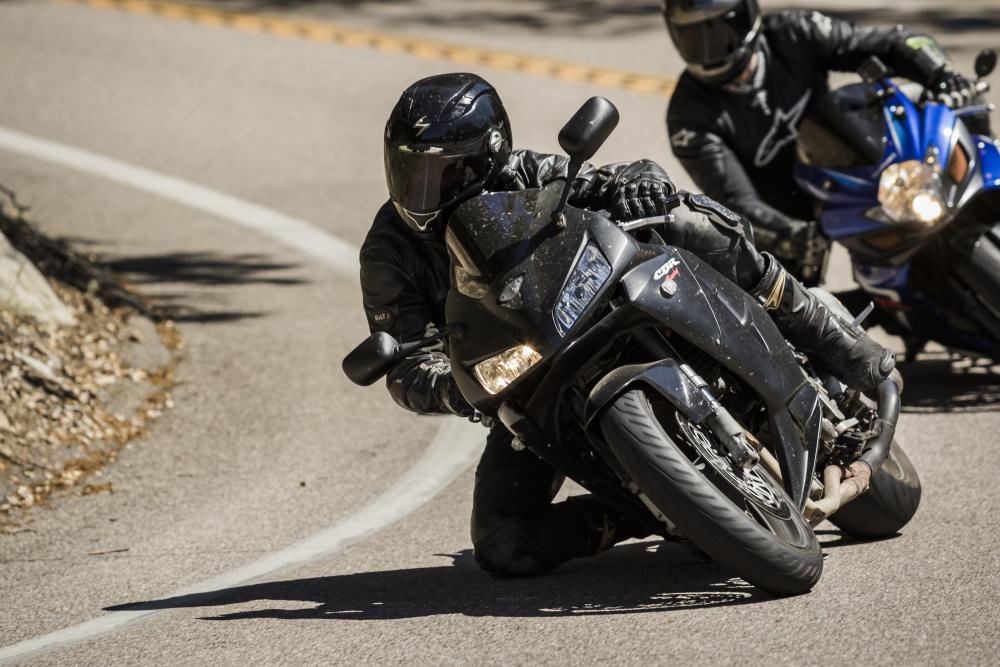
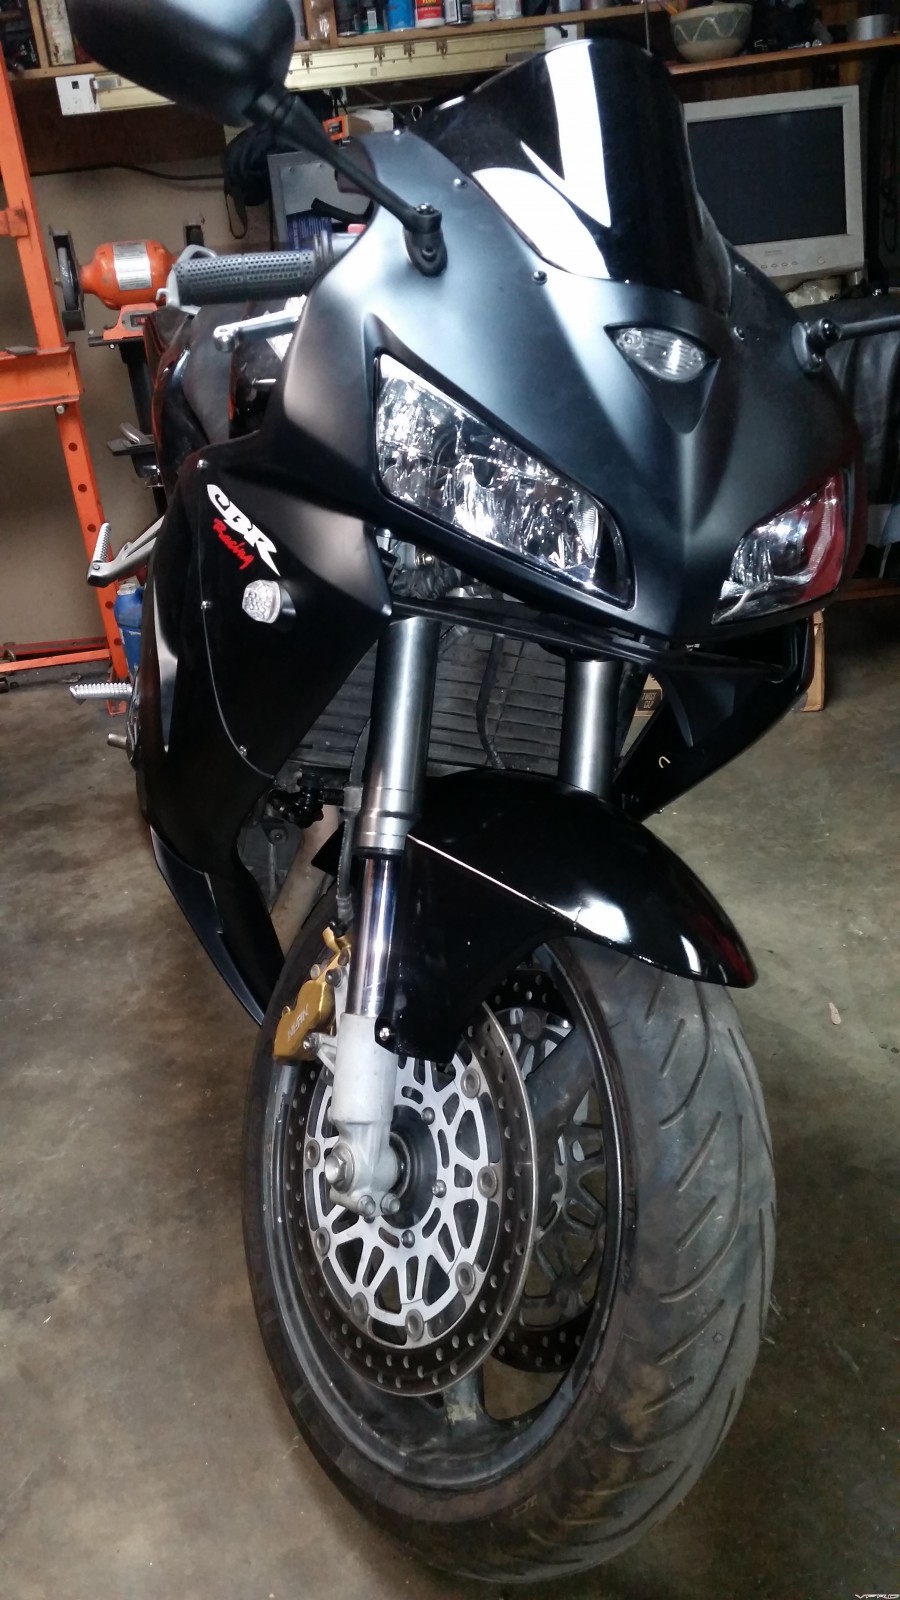
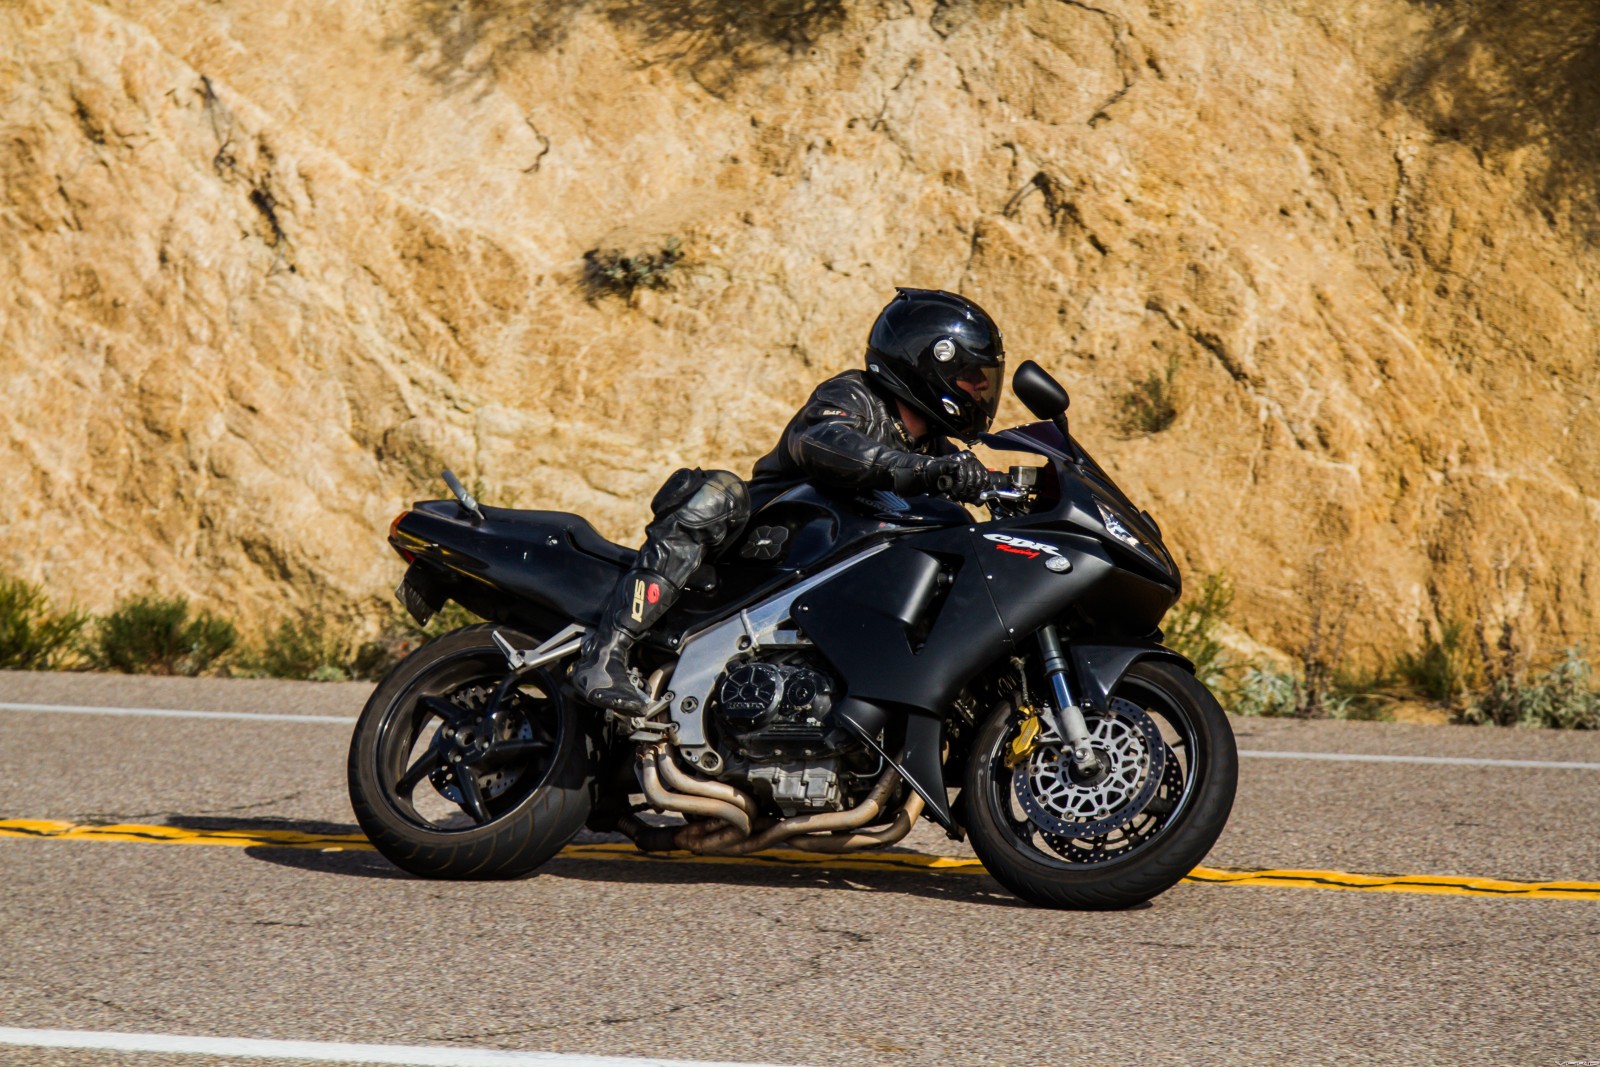
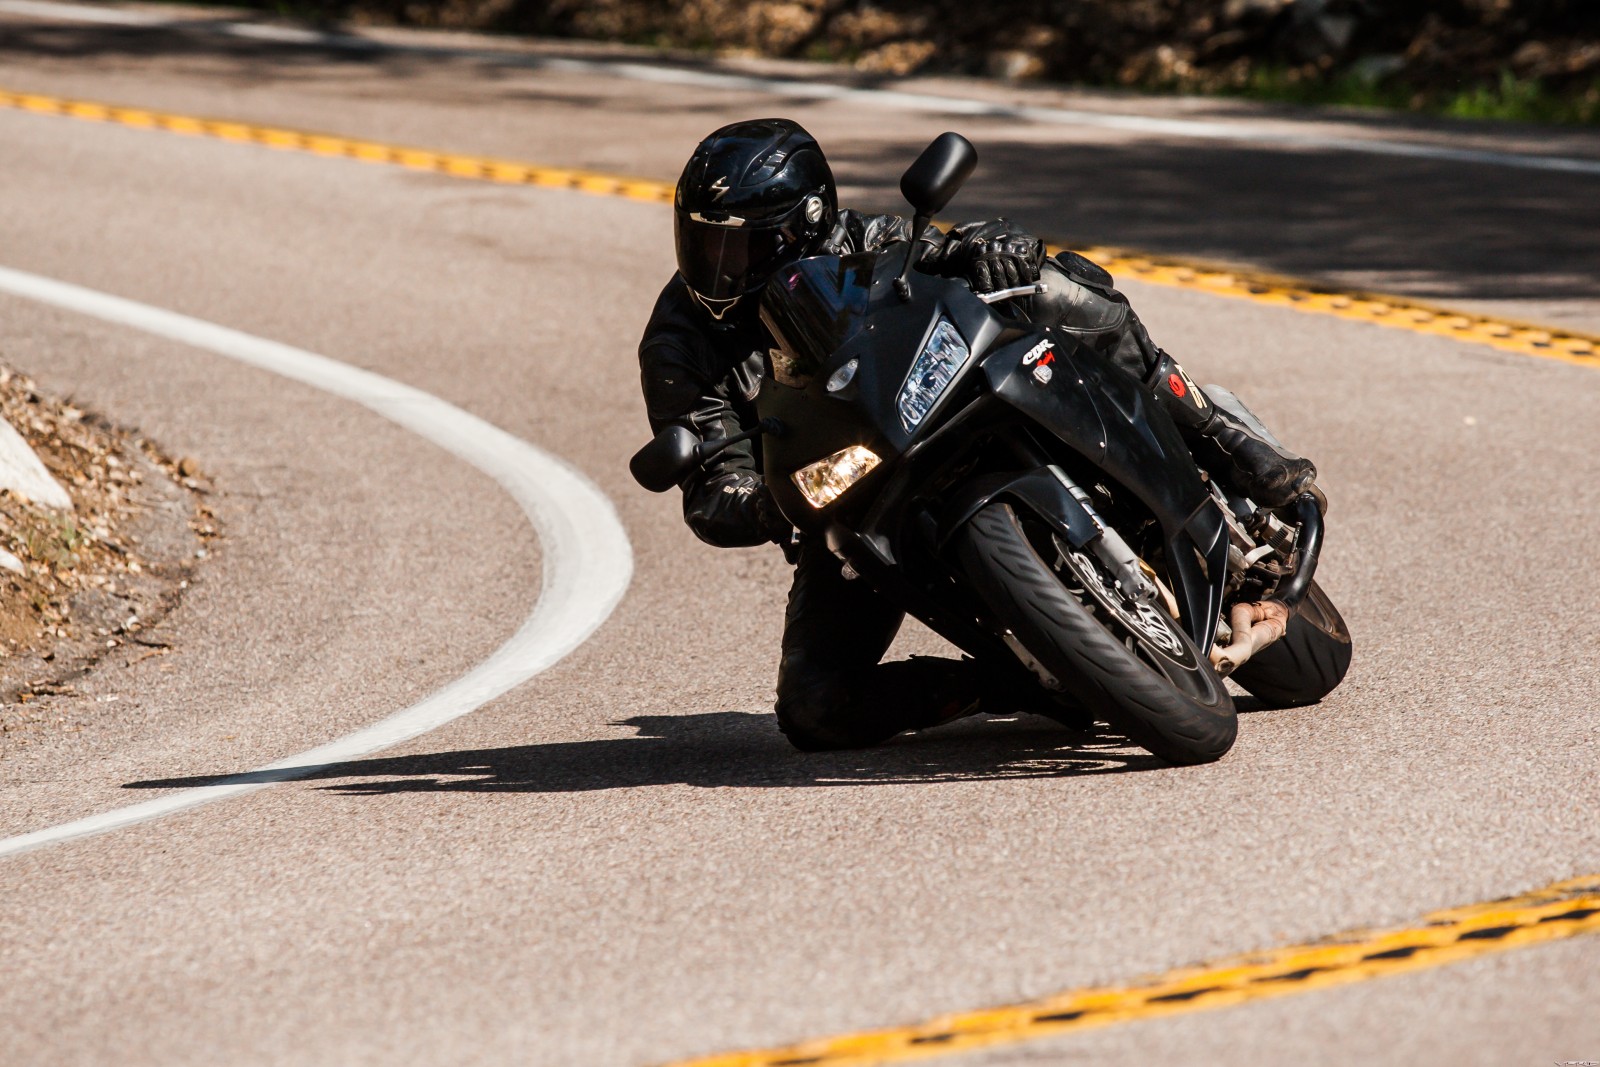
This post will outline my 97 VFR to CBR 929RR suspension, electronics and CBR 600RR Bodywork. Like many people I've been waiting for the return of the RVF, a big 1000cc V4 in a sportbike package leaving the touring aspect behind. I got tired of waiting so I did the next best thing.
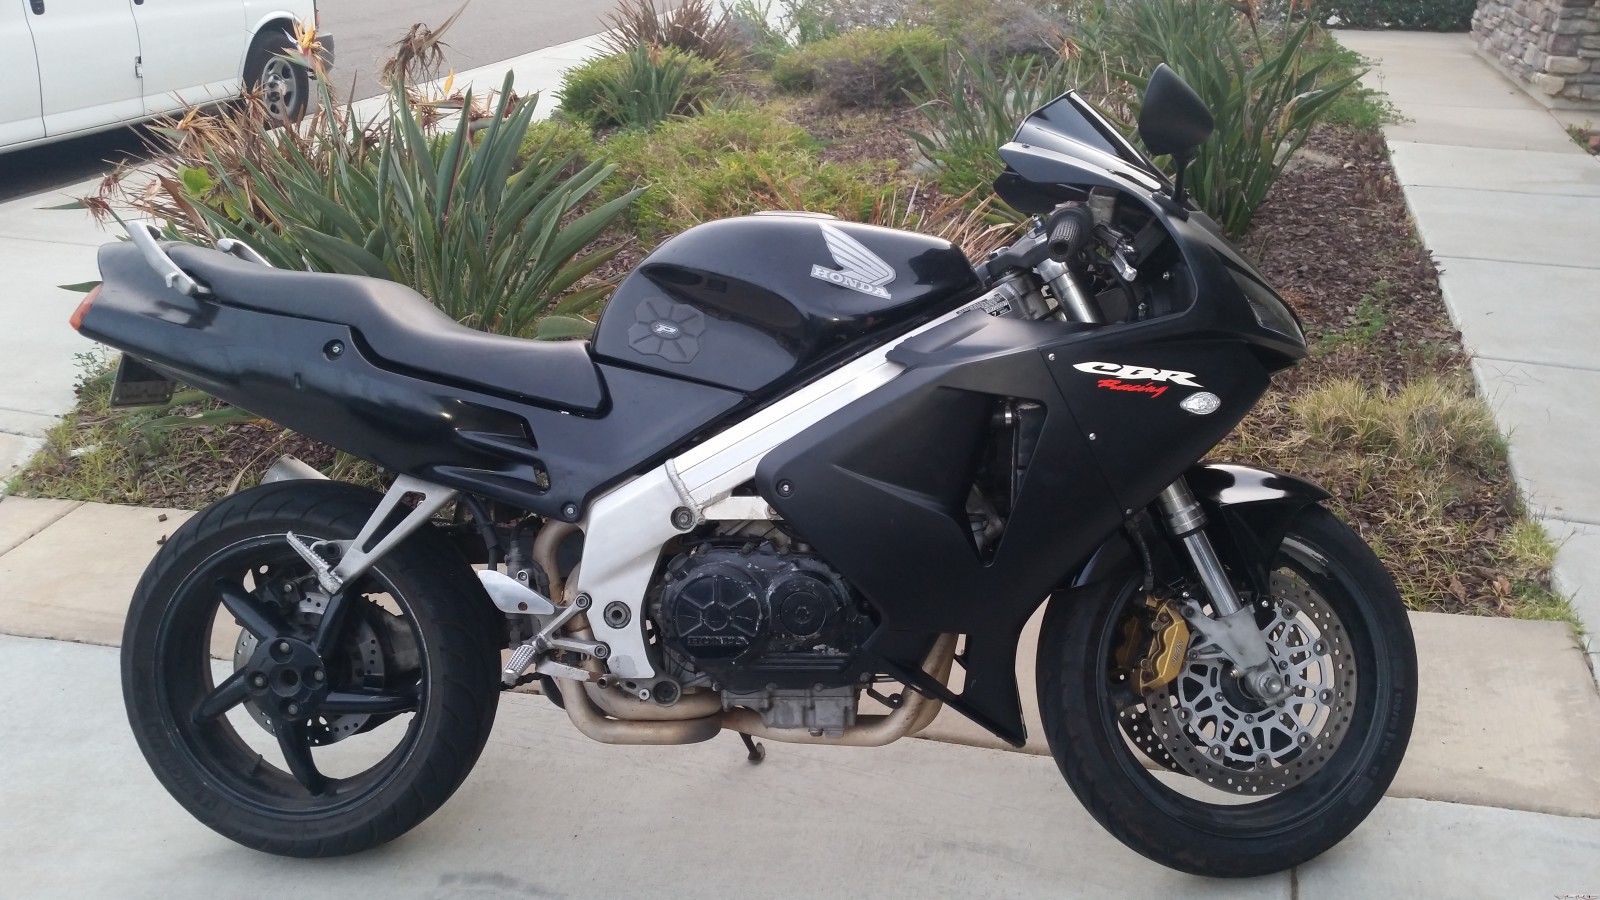
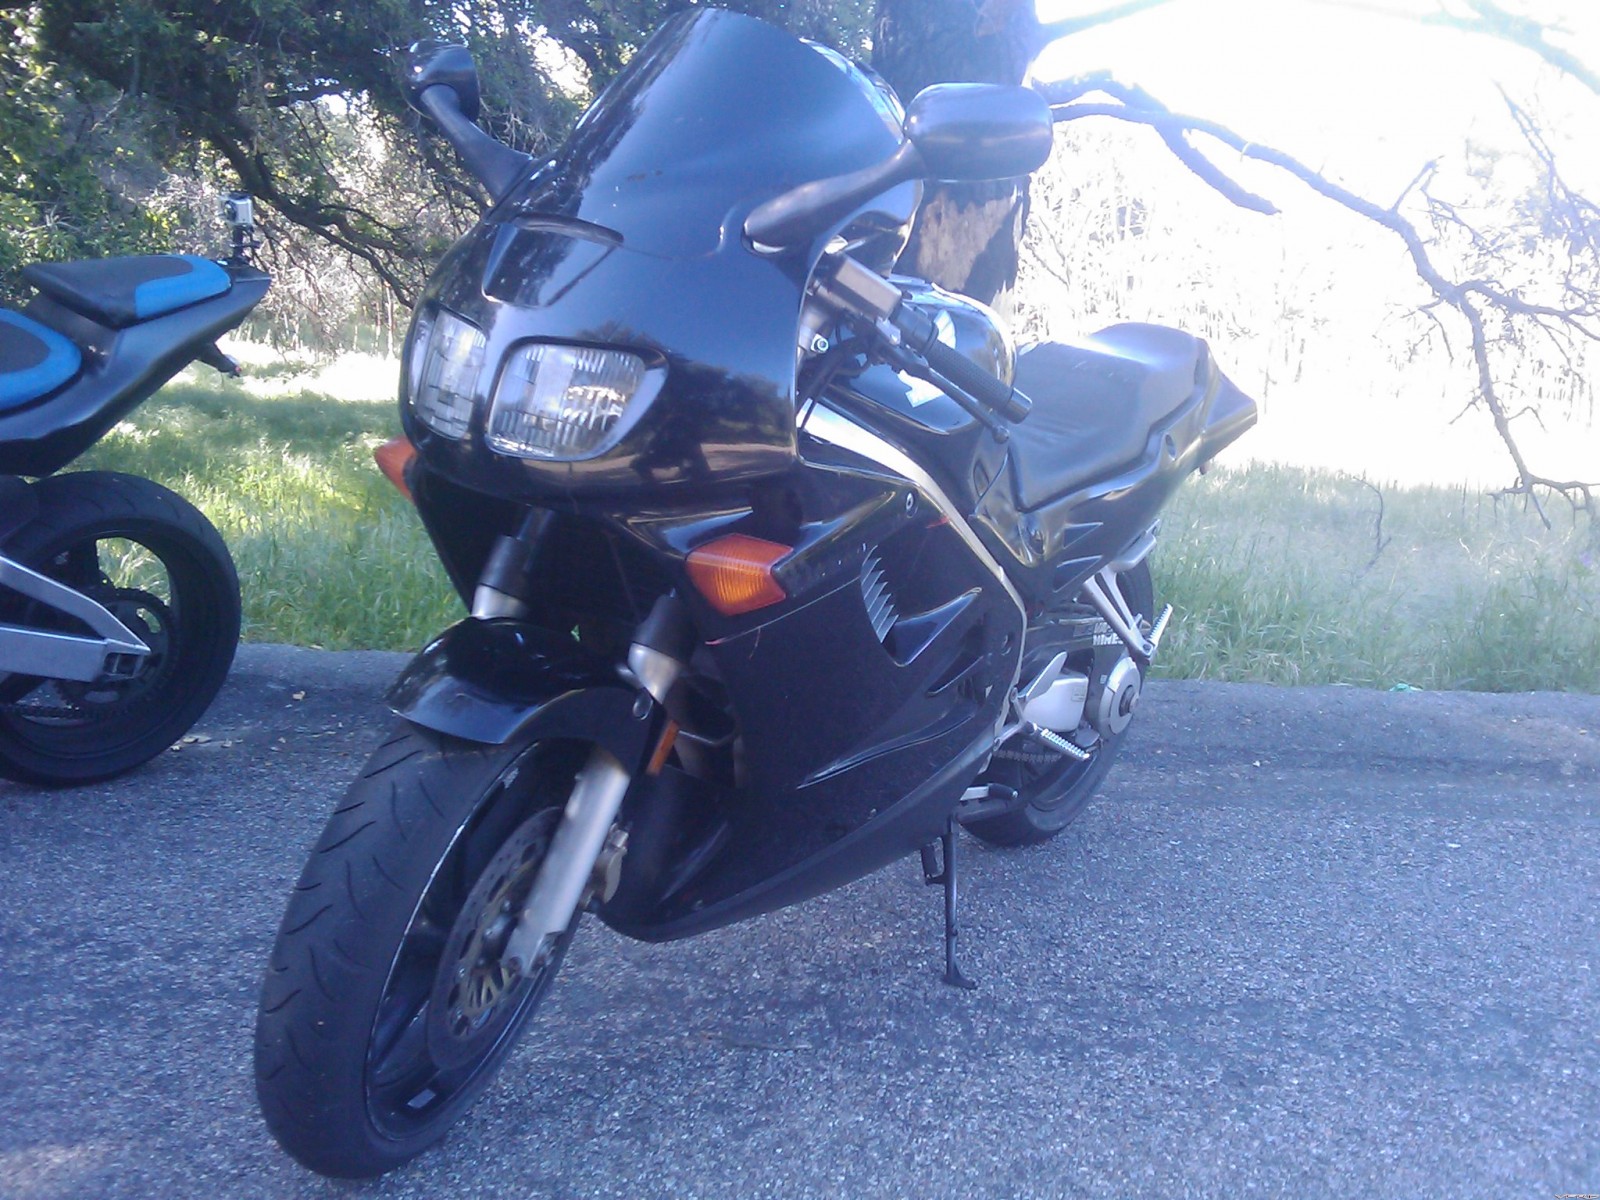
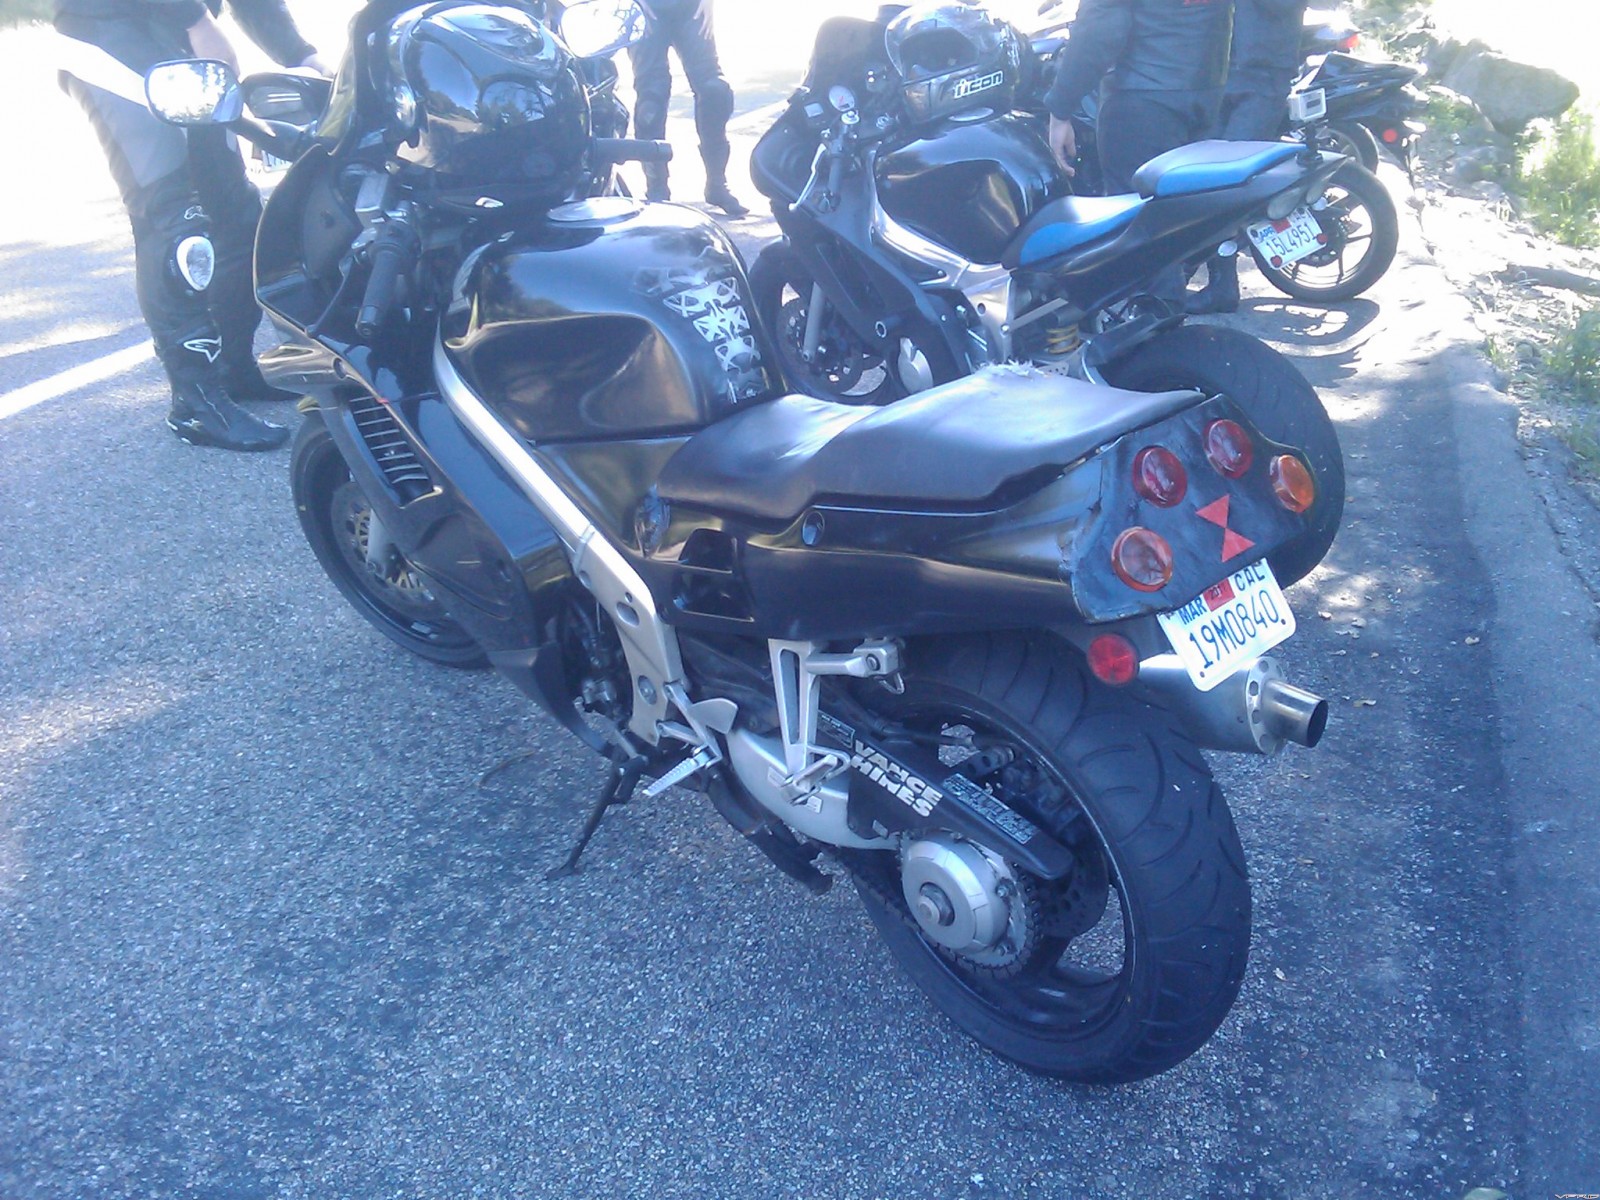
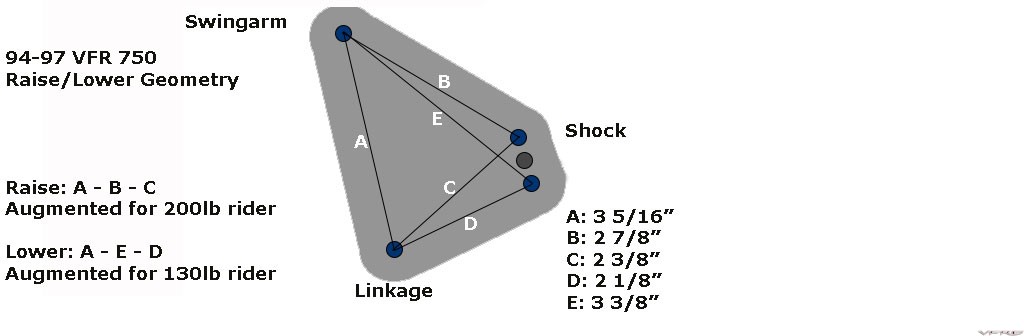
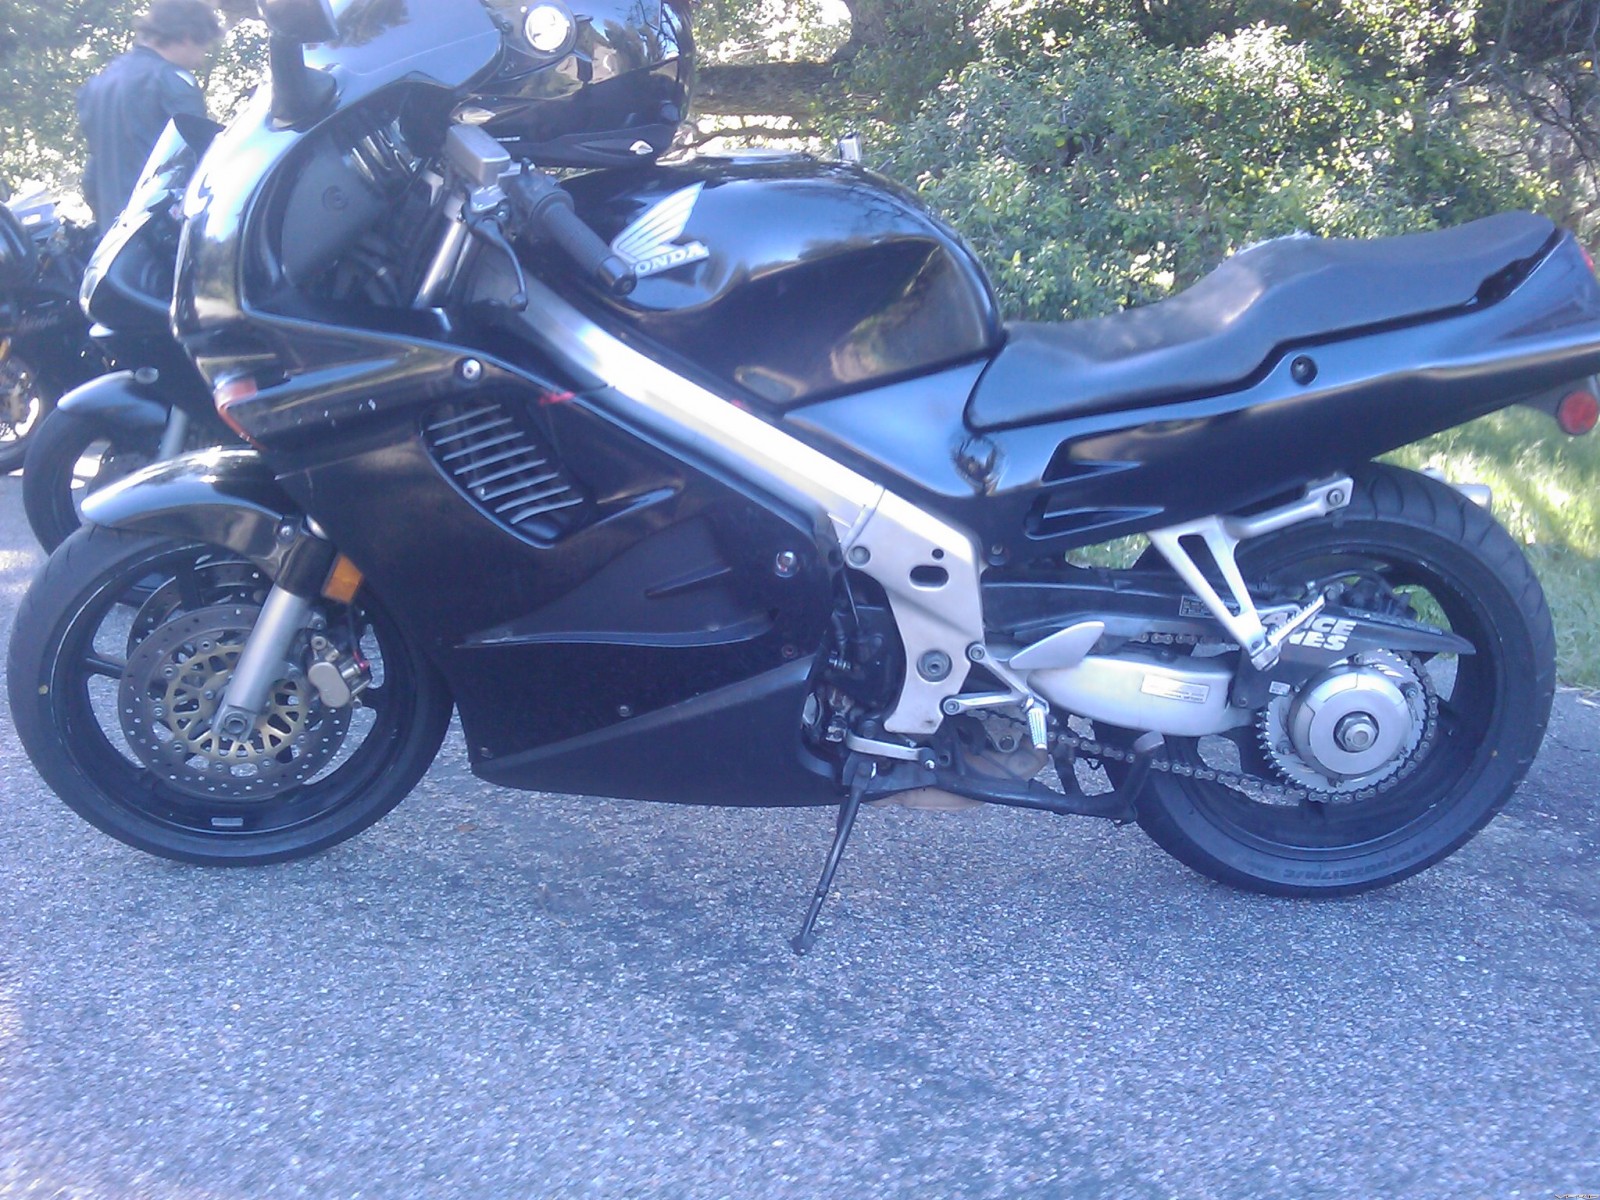 I scavenged an aftermarket performance exhaust with a left side exit from my 1990 VFR basket case and that began the road to more power/performance including Jet kit, airbox mod, sprocket changes, fork and brake rebuilds, raise the back, etc. At one point I had some popping out of gear so I dropped the engine, split the case, and rebuilt the transmission.The VFR was about as good as it was going to get in its current package and this was fine. It ran the mountain well just like any of my other sport bikes.
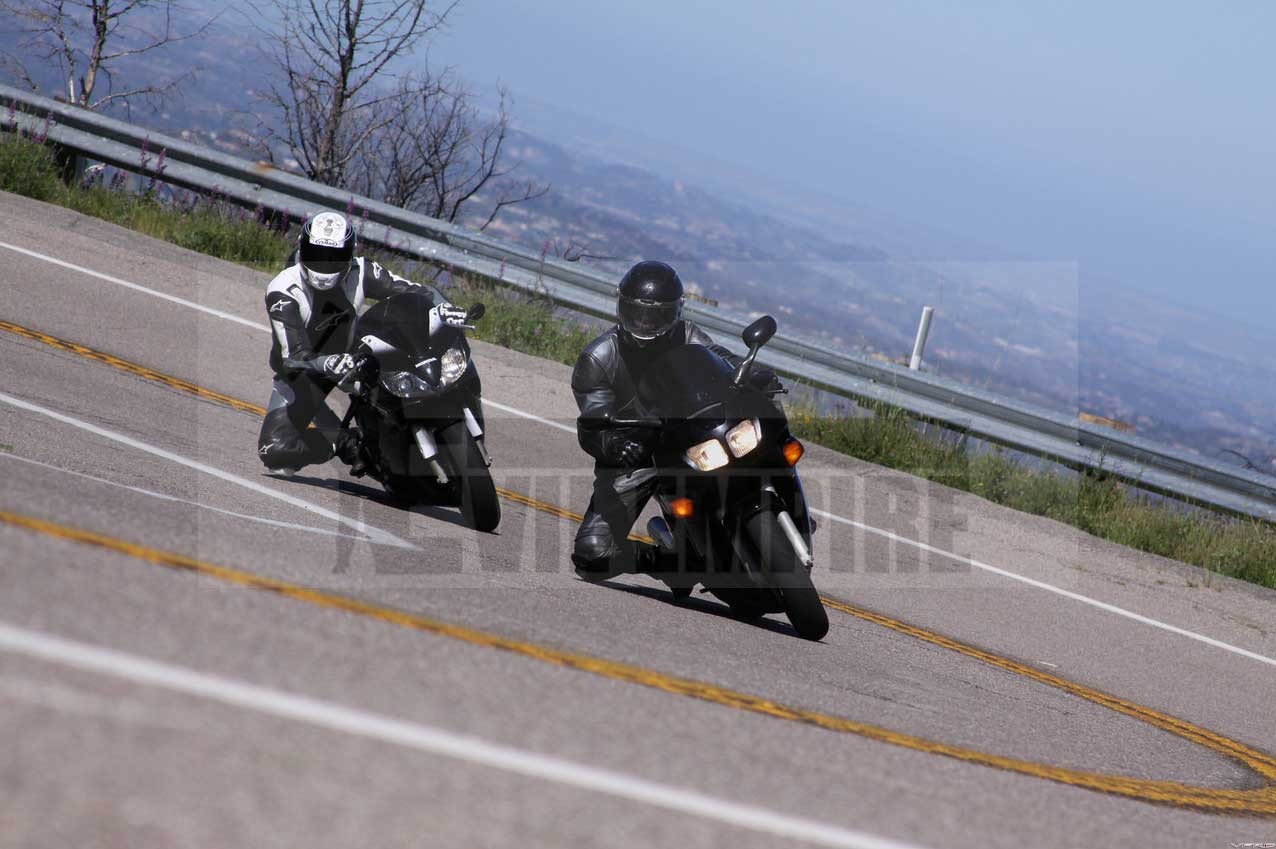
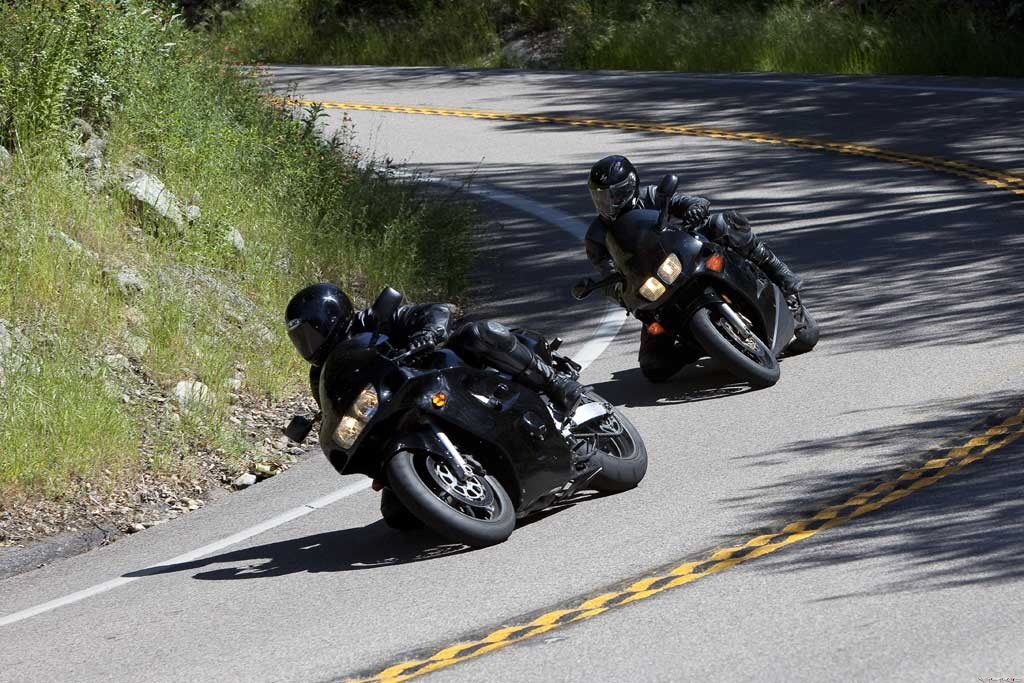
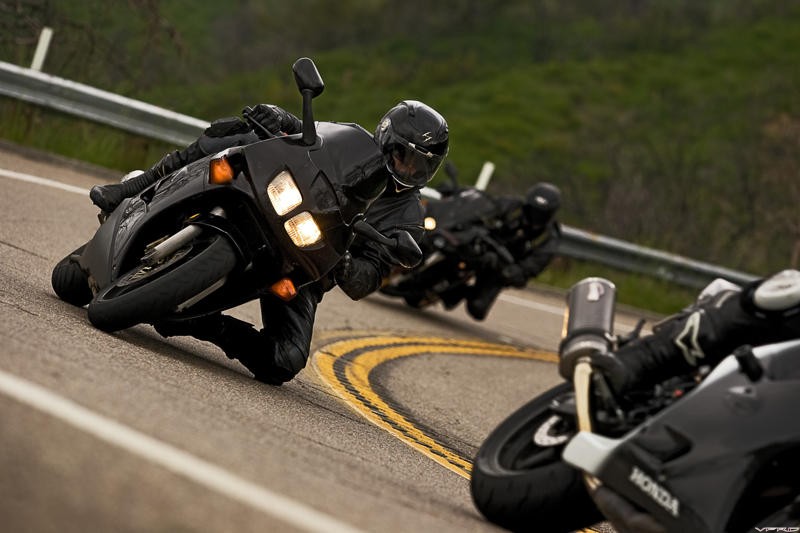
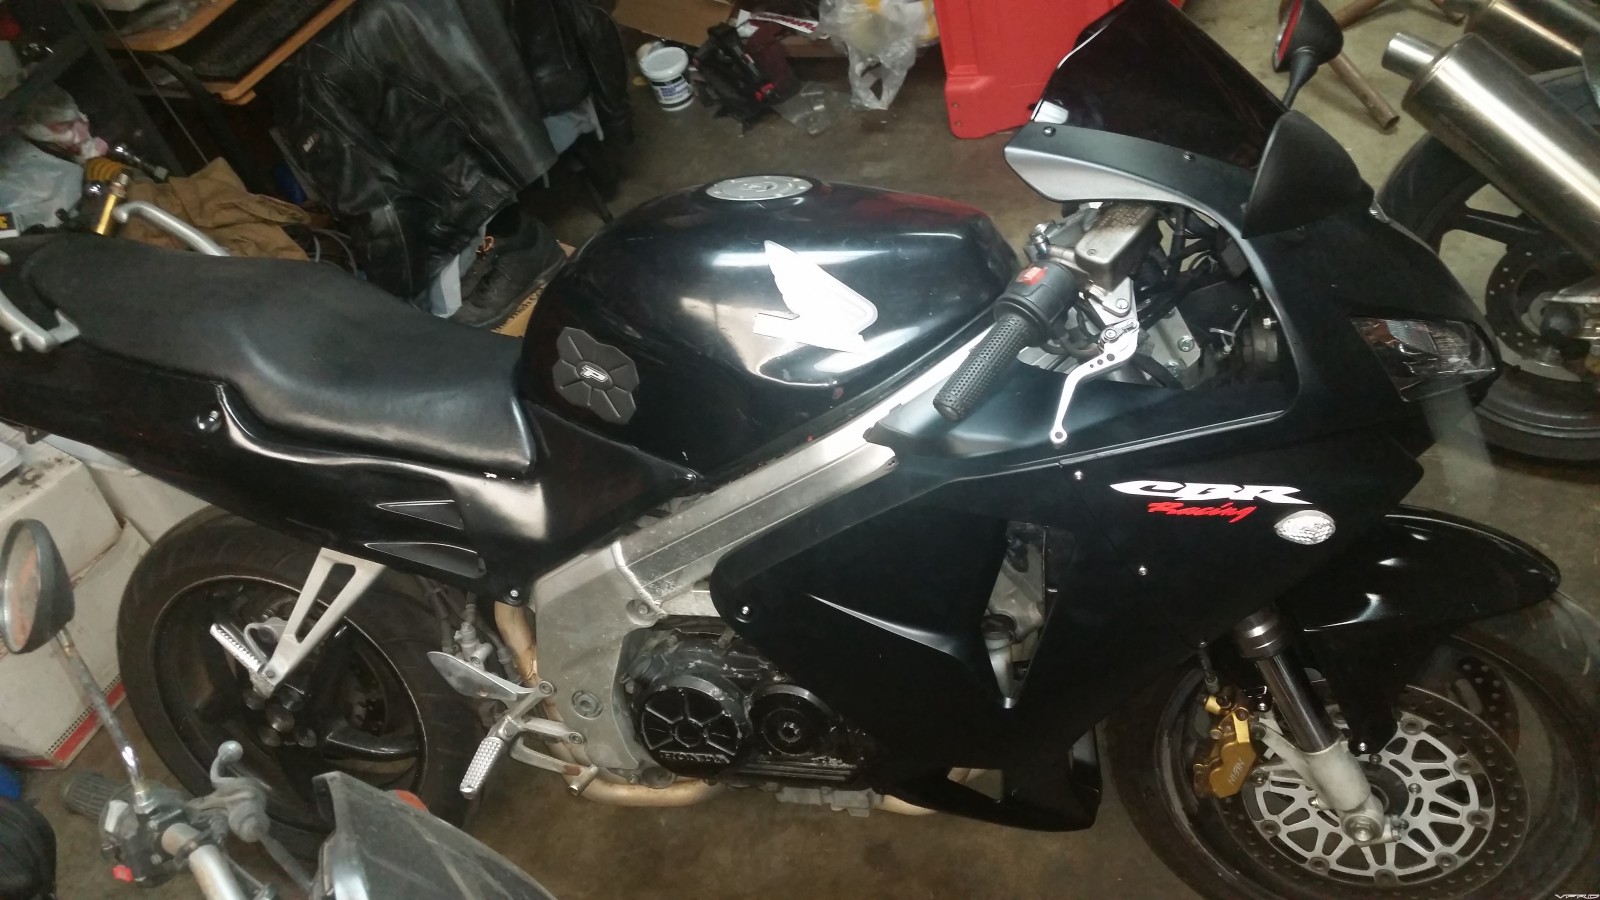
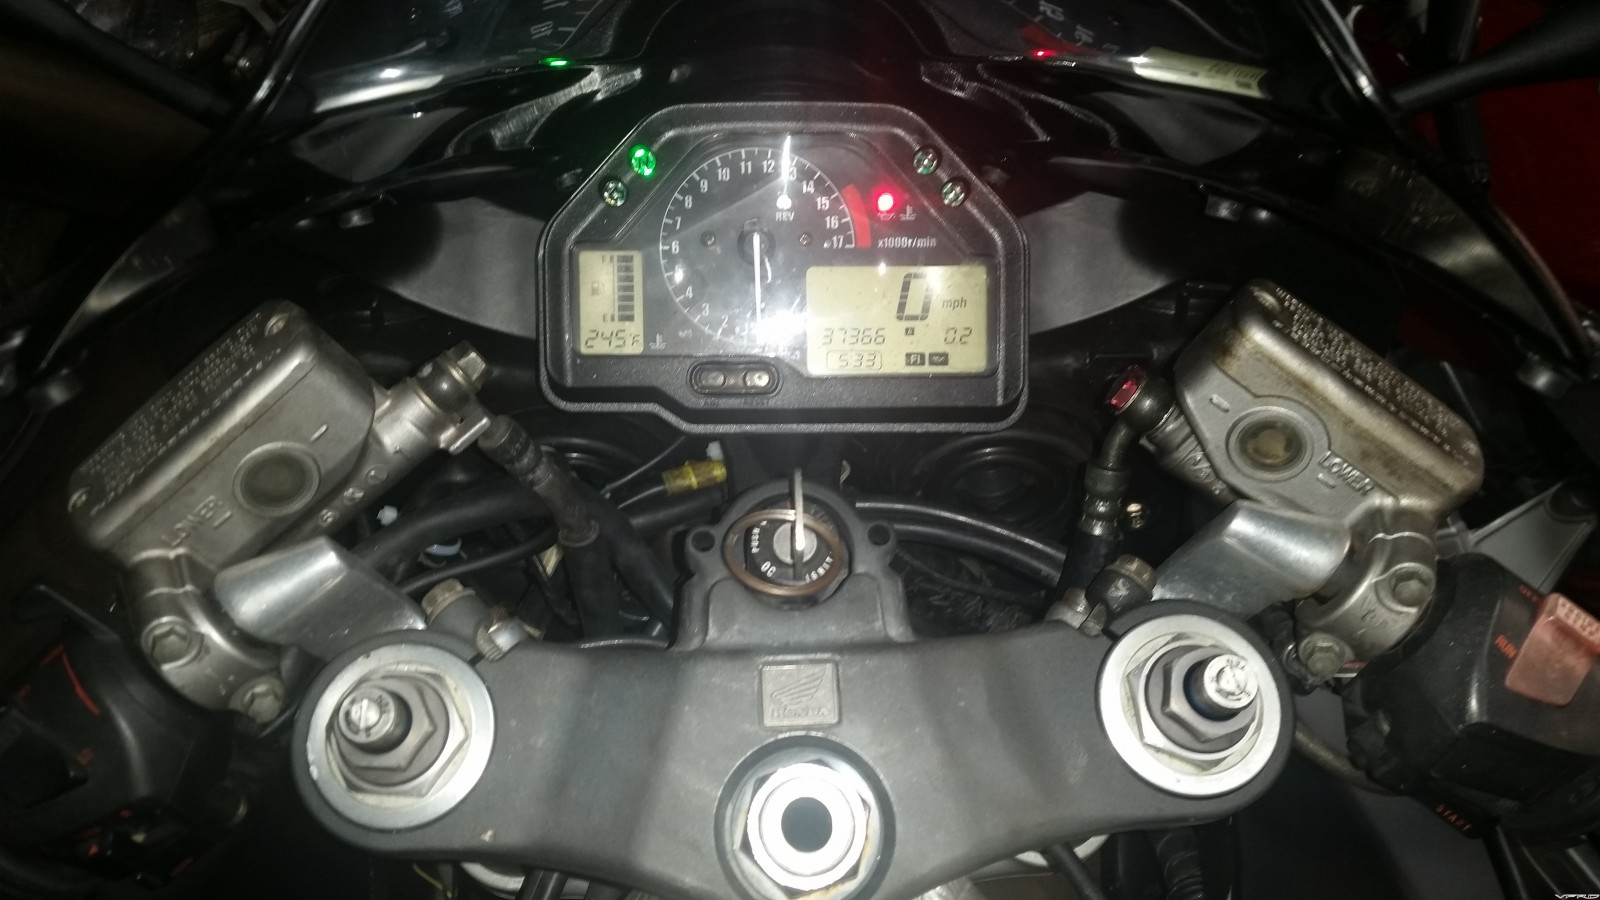
NOTE: The wiring is relatively straight forward, but you will need a 900rr temp sender to normalize correct temps to the gauge(notice the 255F pictured when cold) and you will need a SpeedoHealer V4 to correct speed differences, everything else works perfectly.
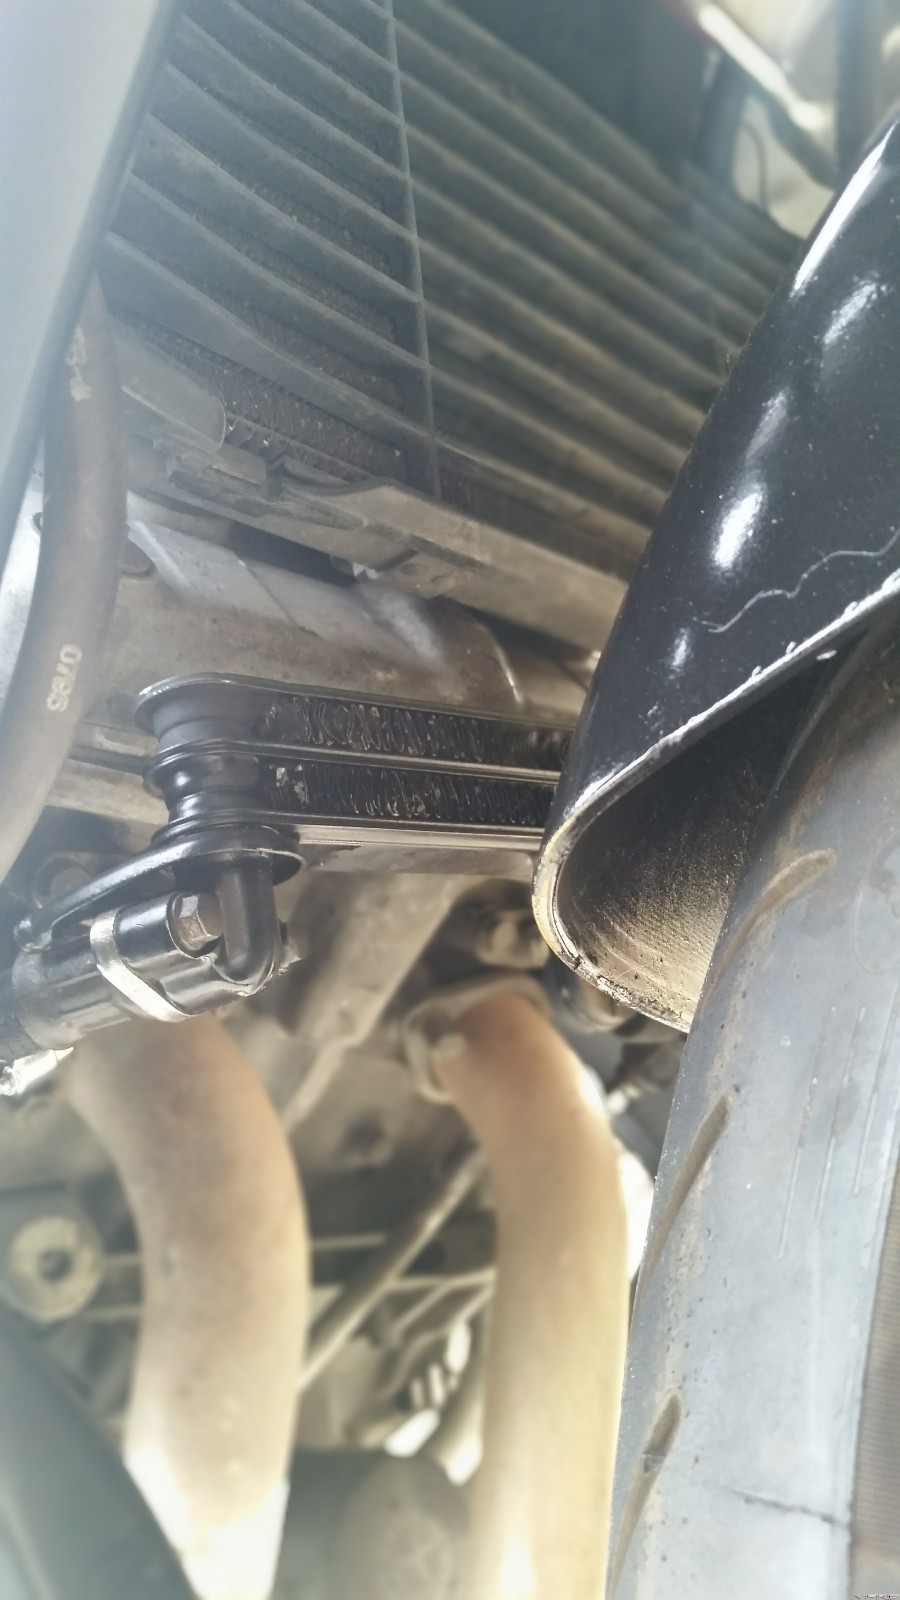
I left the coil packs in place but cut the long protruding fairing mounts off the coil pack mounts. I clocked the coil pack mounts so that the radiator moves back just a little to provide clearance for the inverted forks at full turn. NOTE: turning radius is limited a little but only noticeable in a parking lot or when backing the bike into the garage at full clock. The lower mount tab was oval'd out a little to pull the bottom of the radiator in as well. I cut the hoses on my oil cooler and shortened them to mount directly under my radiator flush. The fairings then used the factory bolt hole location on the VFR to finish bolting up. The upper covers of the fairings needed to be clearanced for the coil packs, the side covers needed to be clearanced fro the radiator hoses. Thats all.
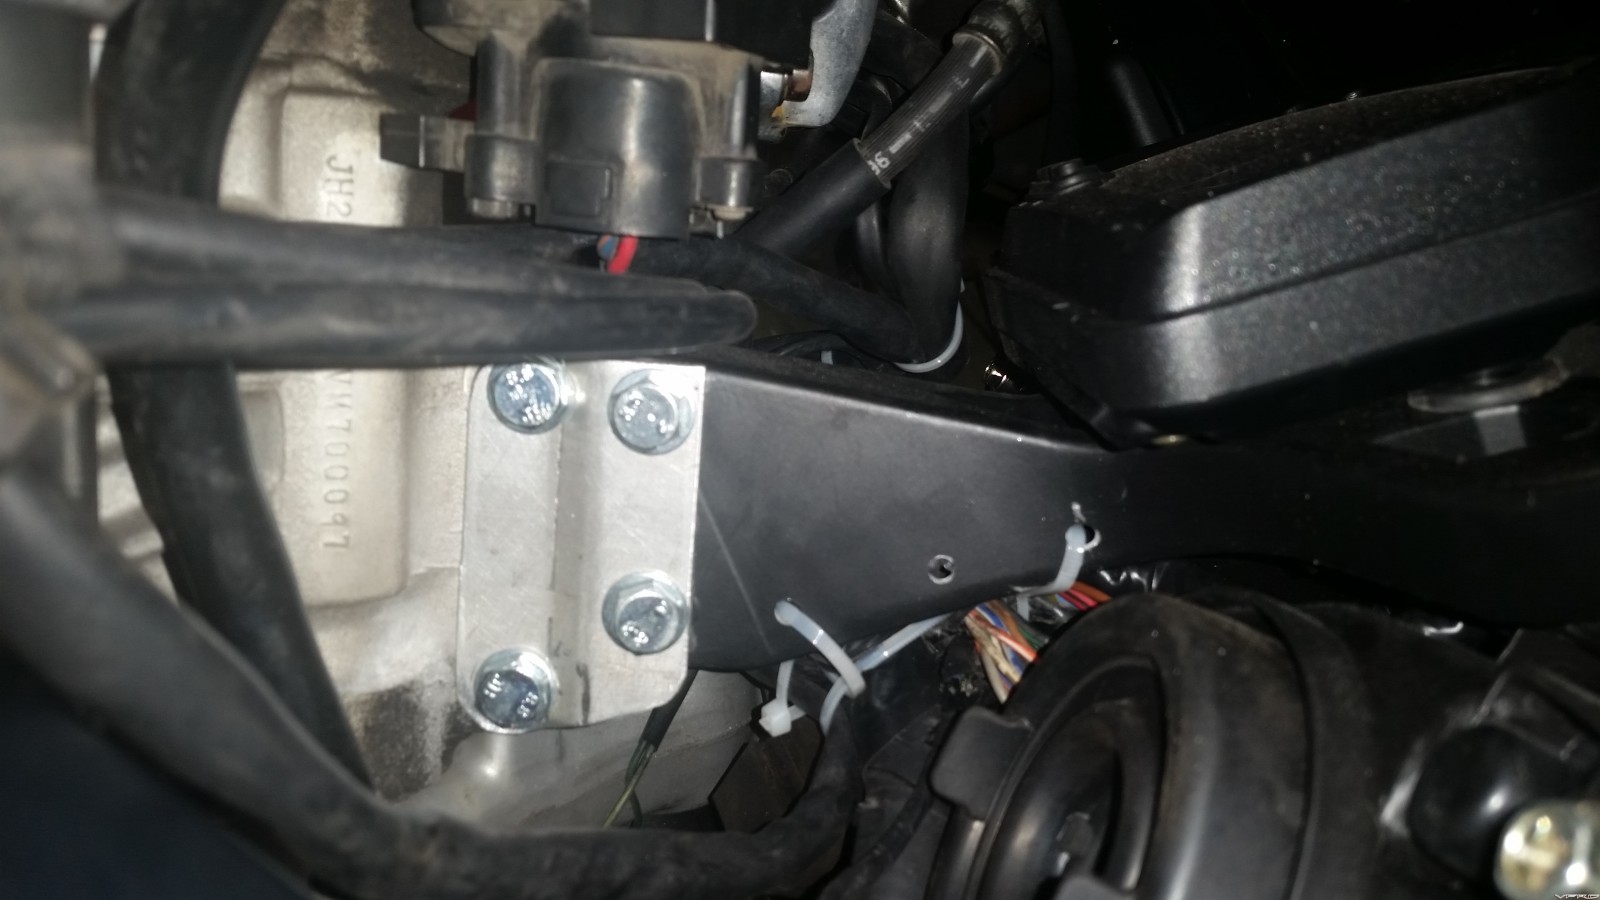
I used a factory 06 CBR 600RR fairing stay, cut the tab off the end, cross drilled the remainder, and mounted it directly to the stock VFR fairing stay frame tab using 2 aluminum plates and 4 bolts. I have a 12 ton press so I sandwiched the aluminum plates between some steel ones to give them the bends but thats not required to make this work.
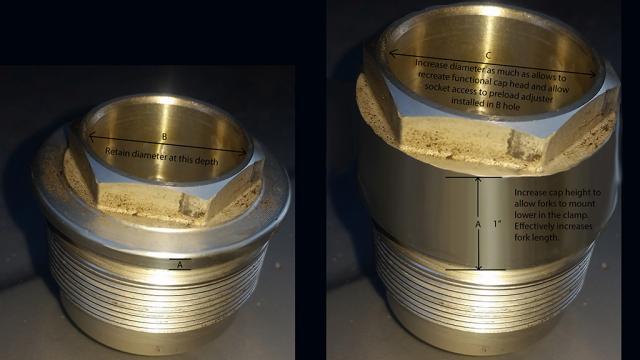
- 929 forks are shorter, period. Use fork cap extenders to gain length and clearance at full compression and or a custom upper clamp that can accommodate mounting them down lower. Both of these approaches are semi costly.
- Shorter forks also means less ground clearance, less rake, less trail, and less wheelbase. Understand these effects on handling and decide if this meets your riding style.
- 929 triple clamps have less offset. Understand this affect on handling. This brings the larger diameter forks closer to the headstock and thus closer to the frame which is why the forks hit the radiator/frame with less turning radius.
- 929 forks have progressive rate springs so typical sag settings do not apply, if you are going to be pushing the bike hard then I recommend replacing these with linear rate springs setup for your weight. RaceTech has them for $99 US. You will need a special tool and some basic knowledge of forks to change them yourself.
- As eluded to, while the front brake master can be made to work initially, it is not an optimal long term solution, a modern Radial Master is recommended.
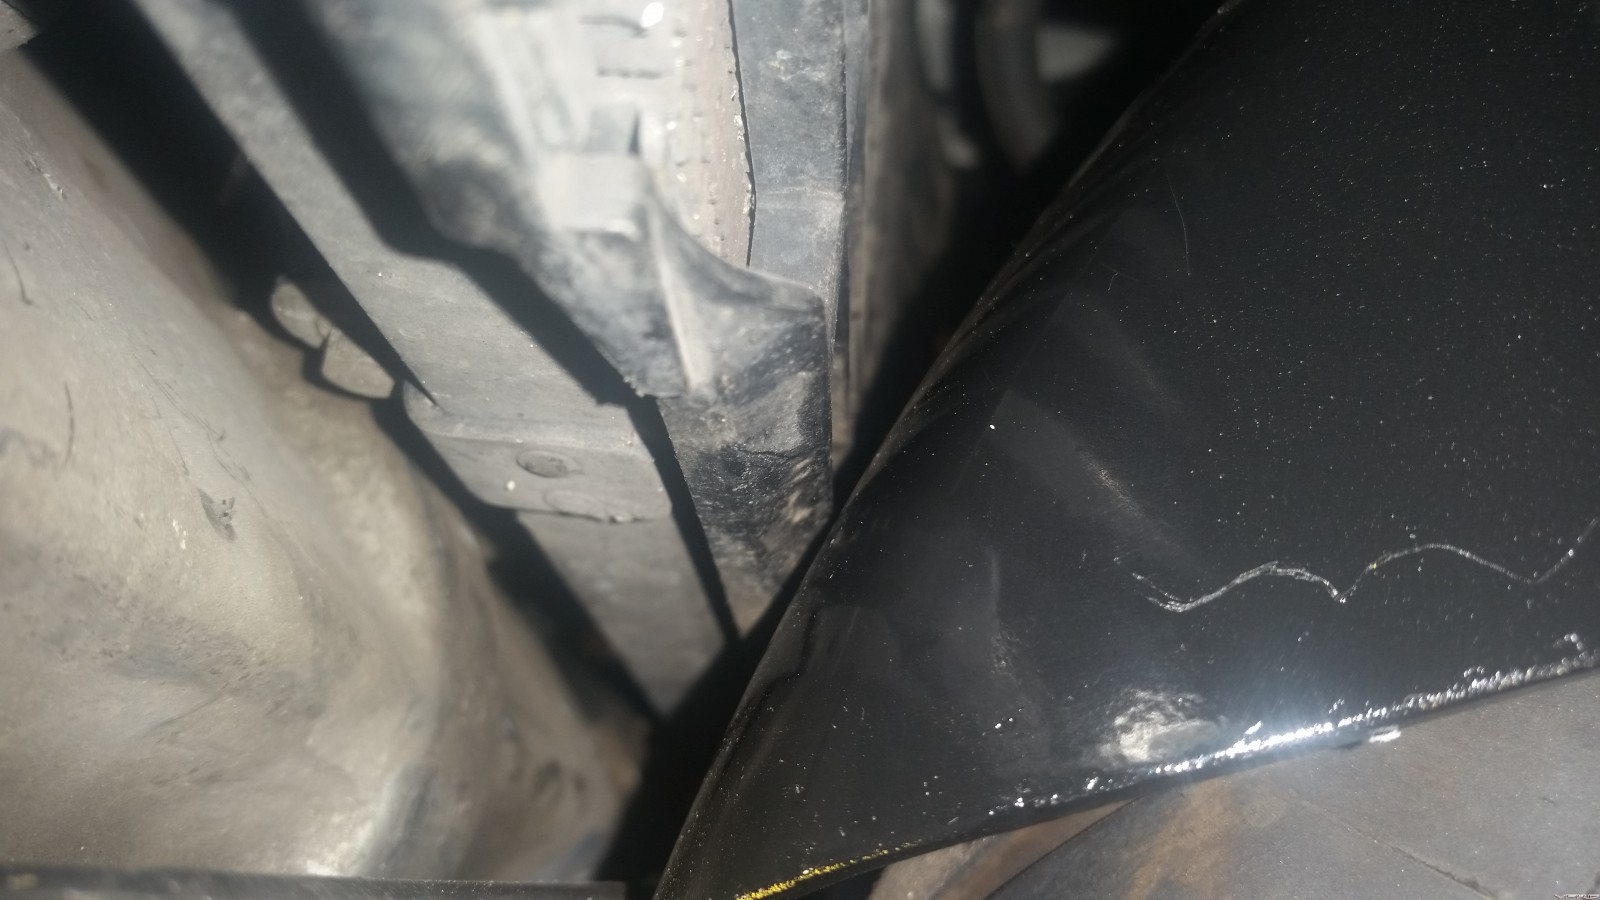
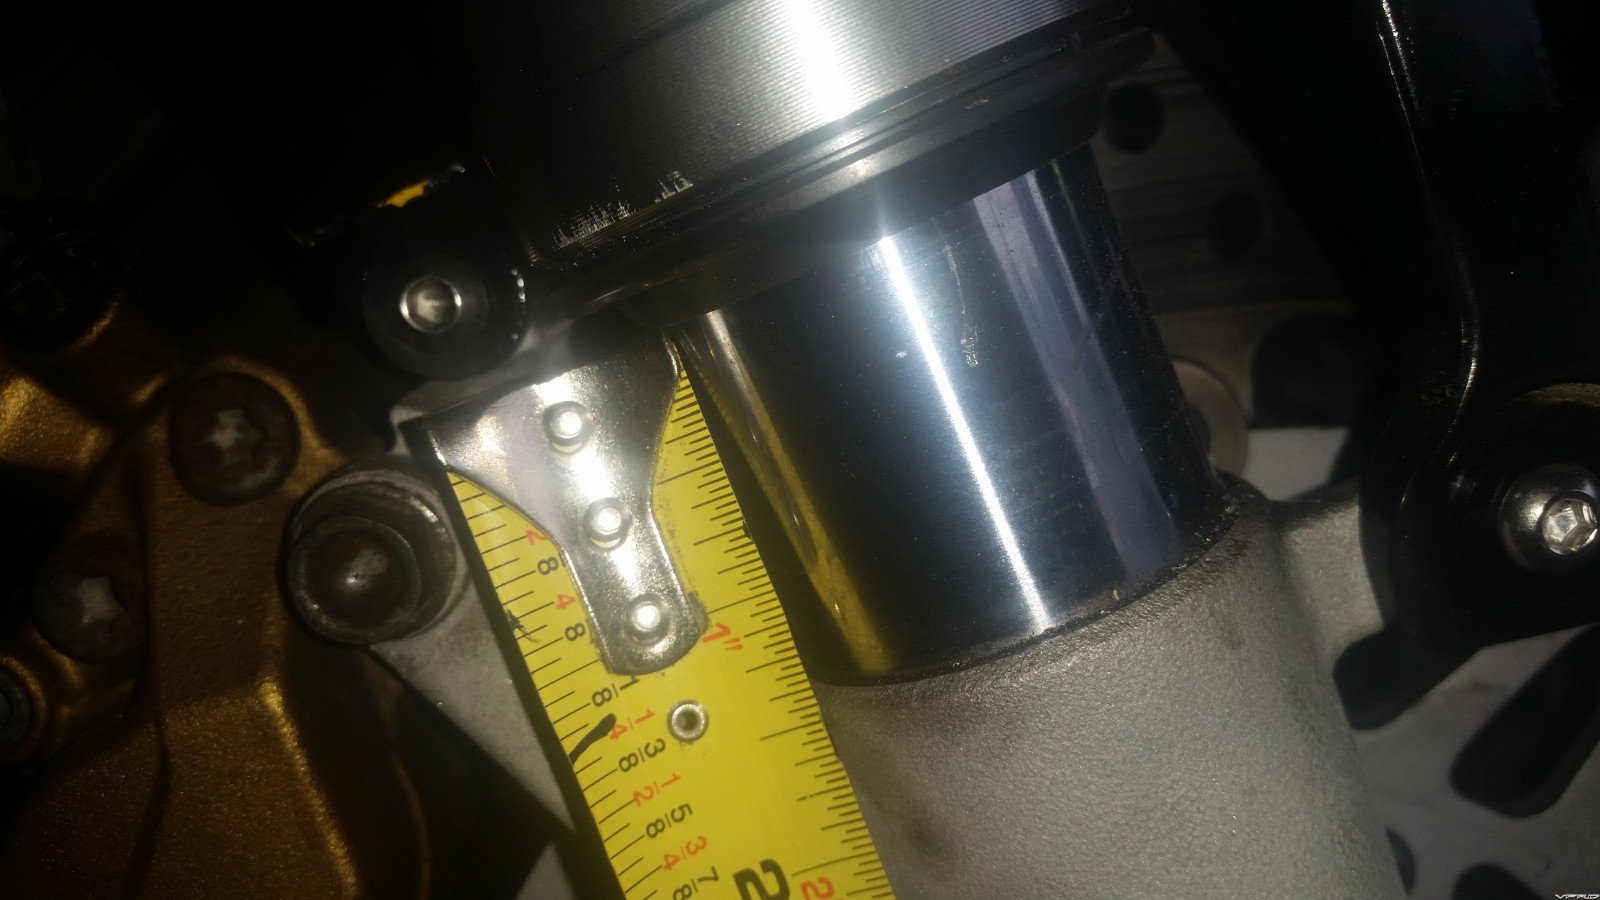
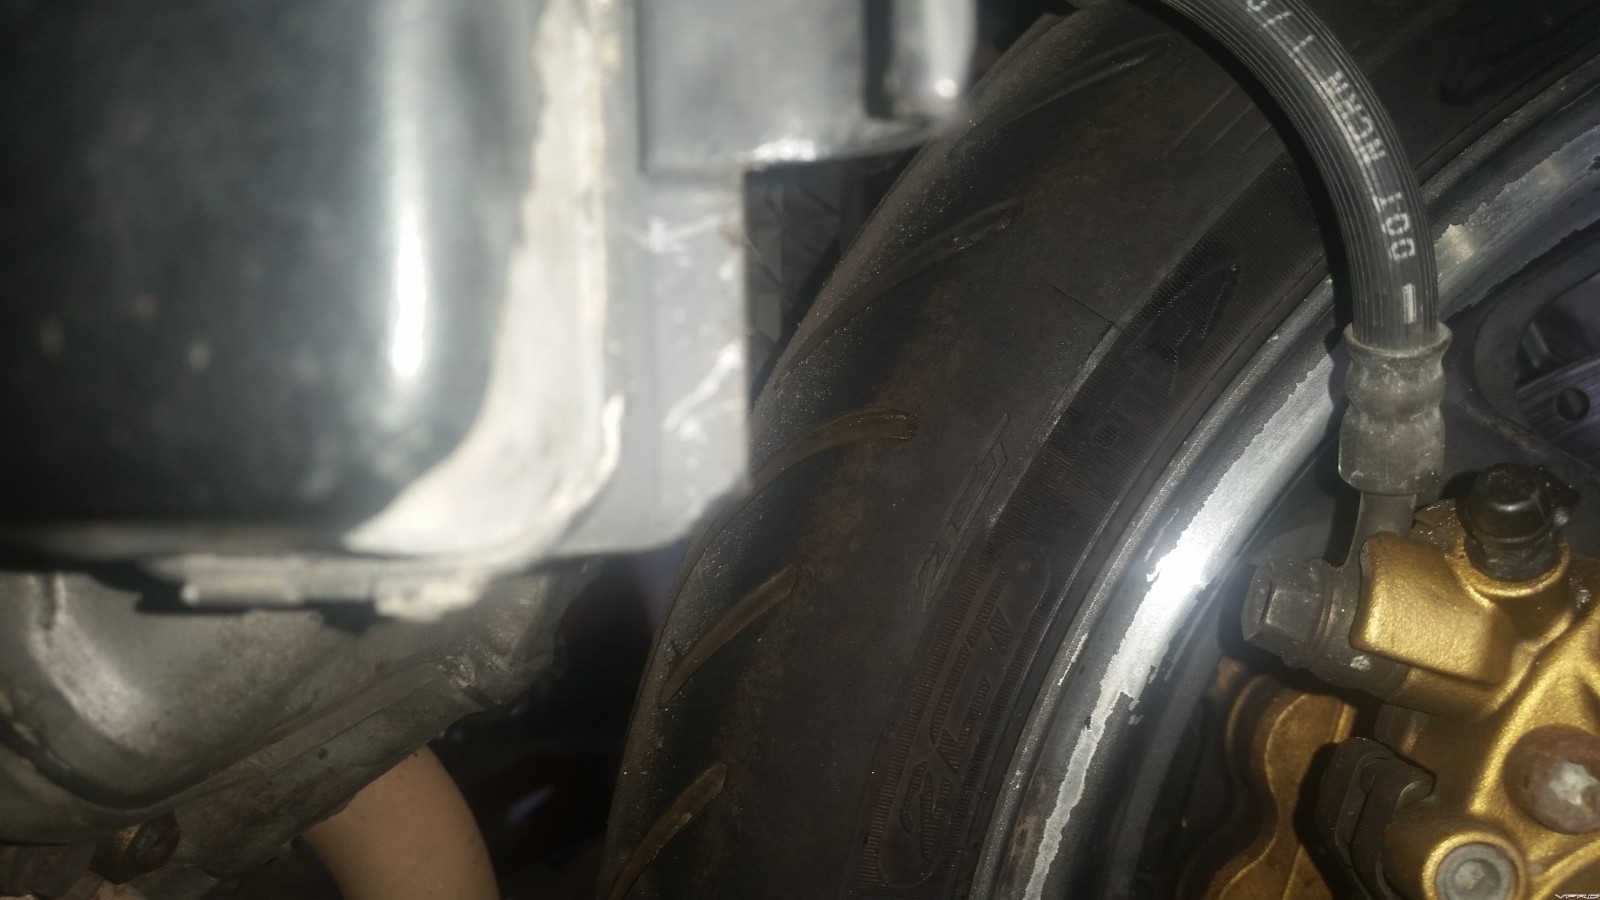
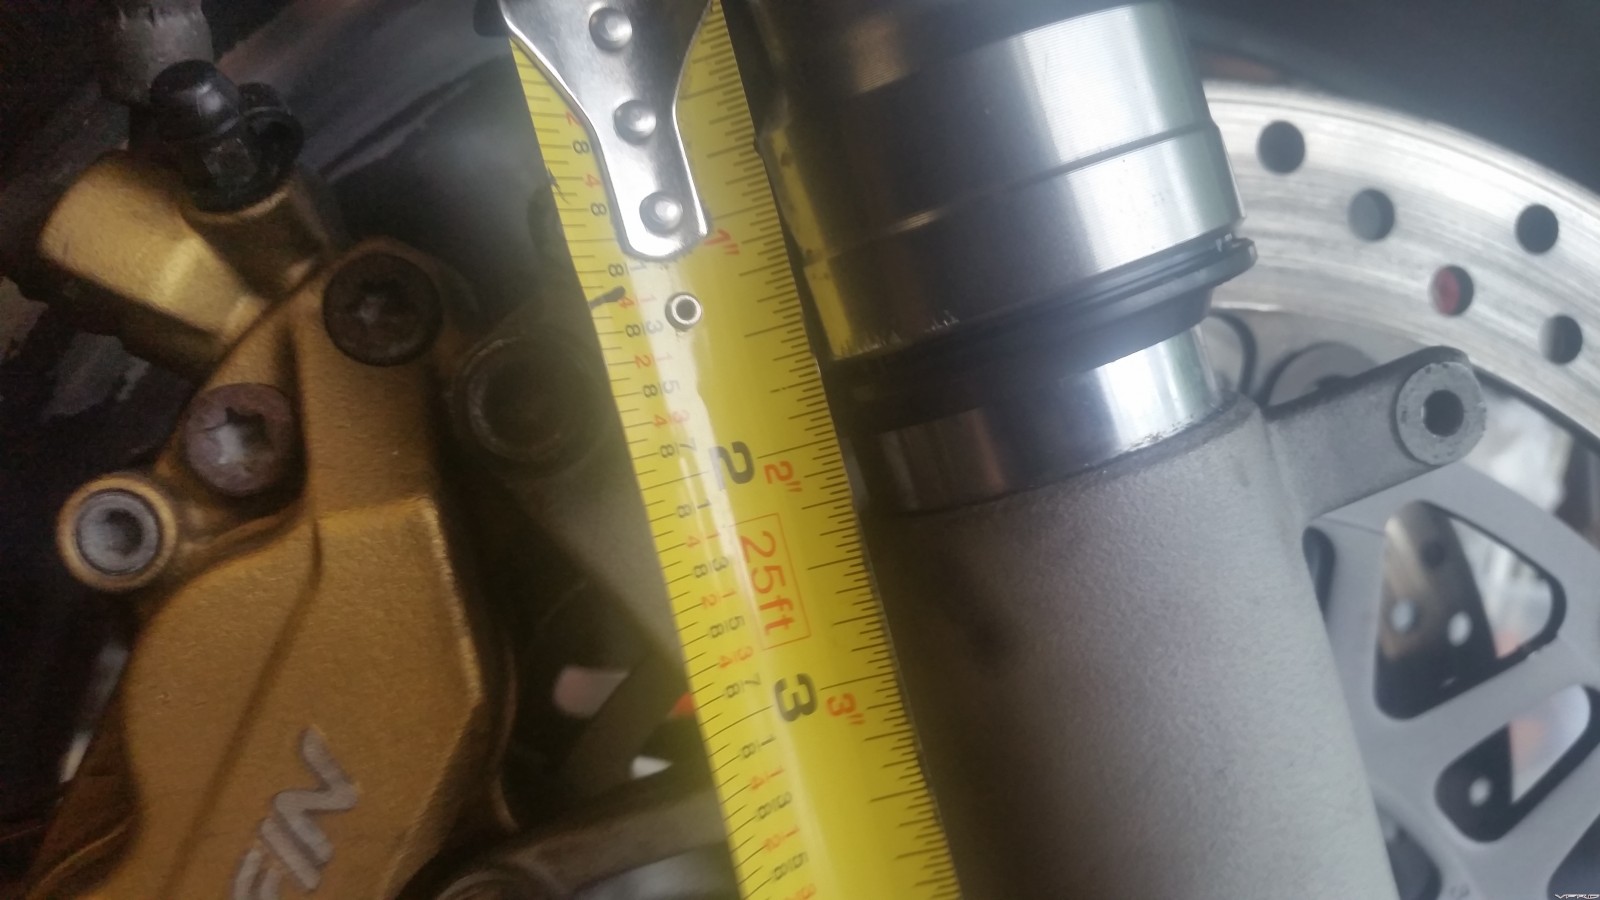 The front fender that came with my 929 front end had damage in the rear so I decided it was worth it to cut the back off, shown here.
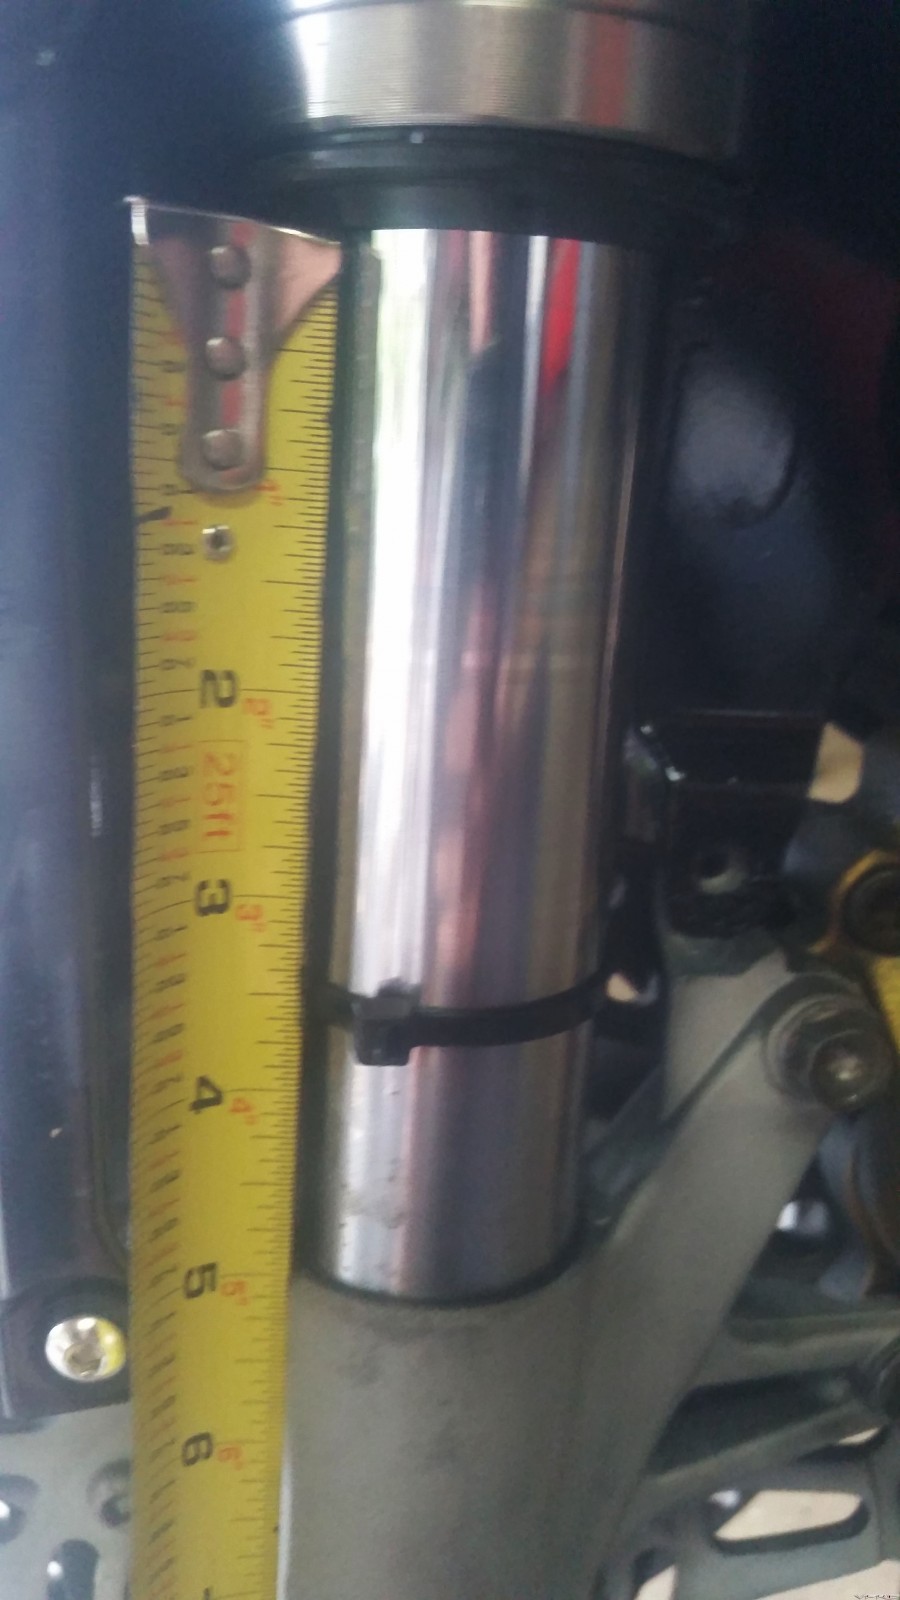
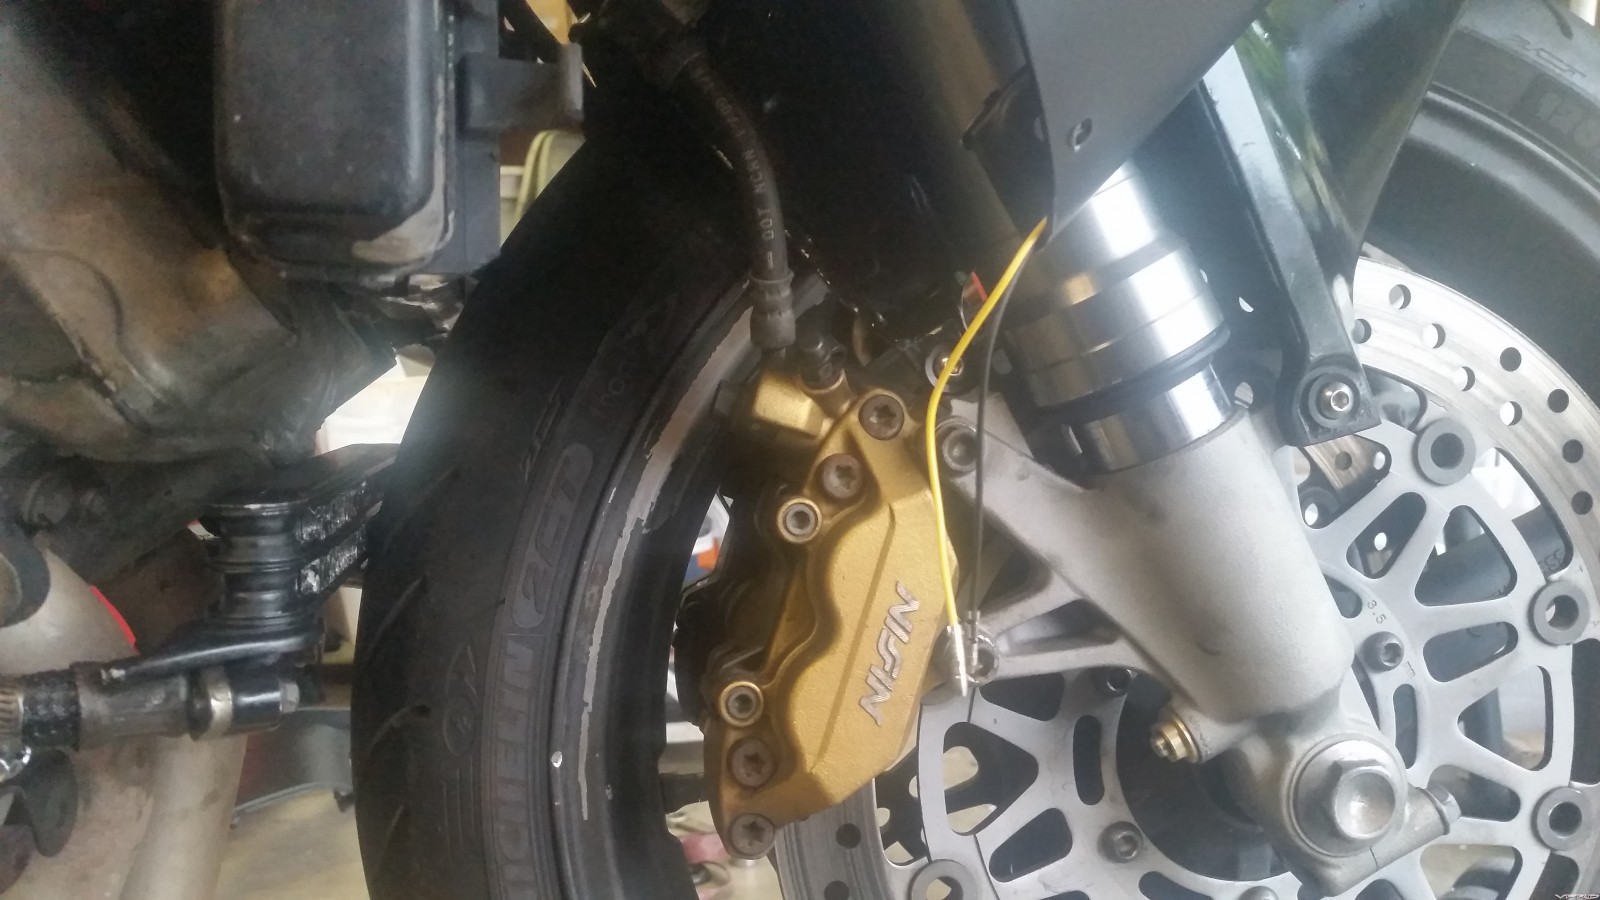 I have lowered my forks to 3mm below the top of the fork cap to gain just a bit more clearance. I reset my ziptie to the fork seal. A subsequent ride and purposeful mousetrap of a small wheelie pushed the ziptie down to the max travel I am using which again was 1 3/8" from the bottom. So it seems I didn't need to trim my fender after all but its also good to leave a buffer so its worth doing it.
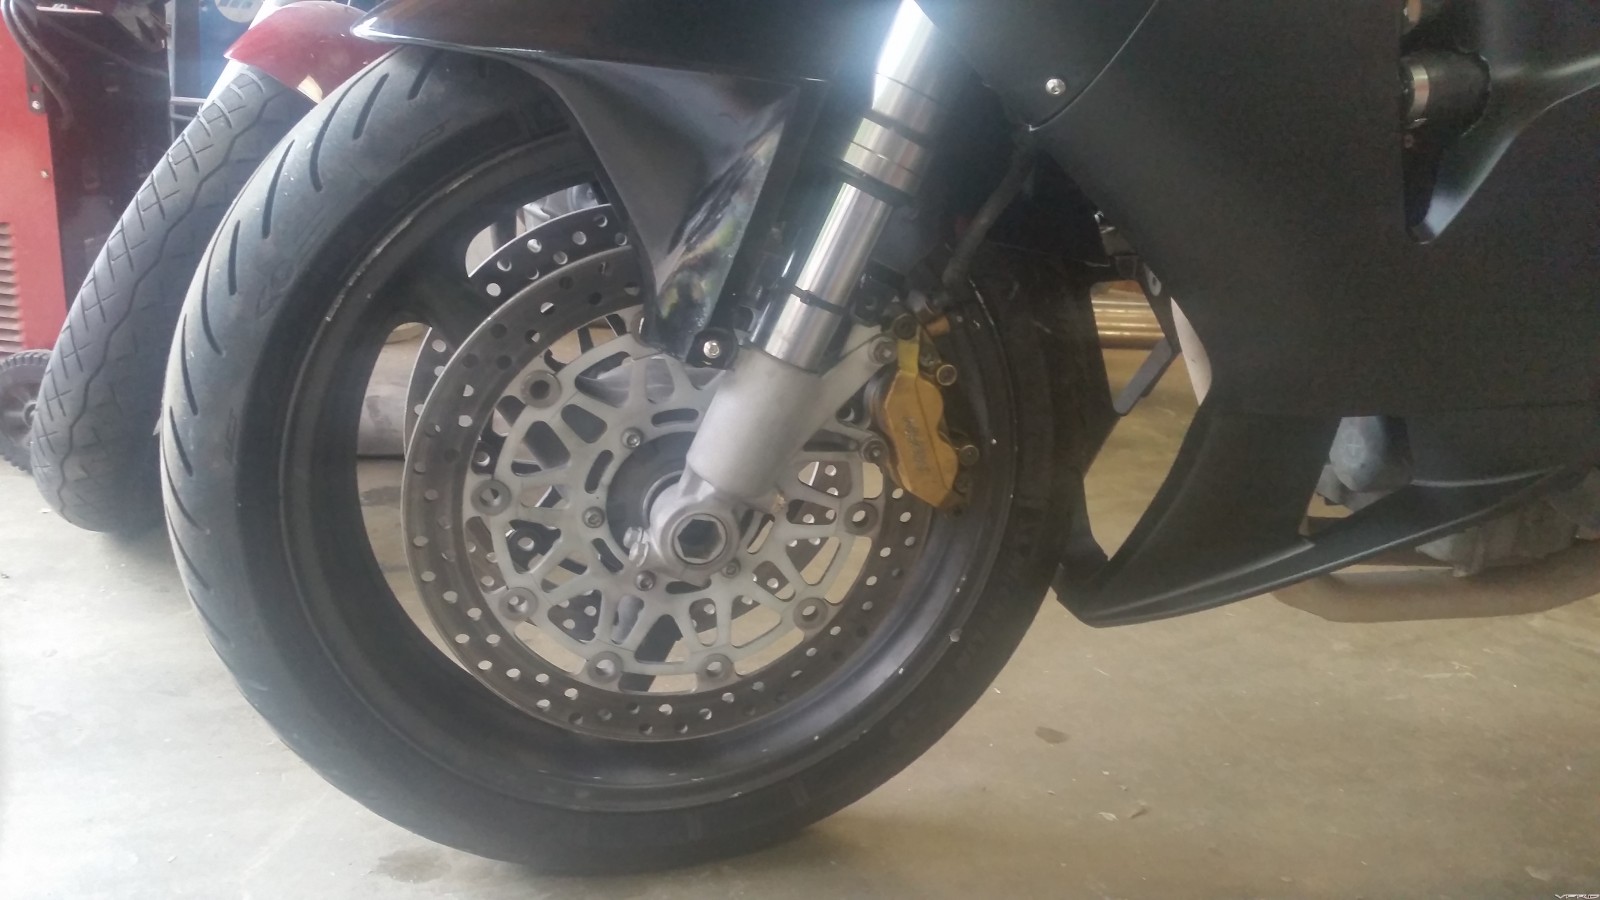 Off to carve the mountain tomorrow and spend some time on the compression/rebound settings. More to come.
Edited April 25, 2016 by SoCal97VFR
Off to carve the mountain tomorrow and spend some time on the compression/rebound settings. More to come.
Edited April 25, 2016 by SoCal97VFR